Choose the job before choosing the container
An indoor worm bin can handle a selected stream of household scraps, but it does not need to accept everything your kitchen produces. Begin by observing a normal week of preparation waste. Separate raw fruit and vegetable trimmings from oily meals, packaging, and other unsuitable material. Estimate how often someone will open the bin, check conditions, and prepare bedding. These decisions establish an operating routine before the container's advertised capacity enters the discussion.
A household that cooks vegetables every day may still want a small learning system. Another may generate little suitable food but value the educational routine. Neither needs to maximize throughput immediately. Write the intended role in one sentence: this bin will process a modest portion of our preparation scraps while we learn its pace. Keep an overflow destination from the start, such as an accepted municipal organics service or an appropriately managed outdoor system.
Make the location stable and serviceable
Check the proposed location during ordinary daily use rather than judging it once. A sunny window, unheated garage, or cabinet beside an appliance may behave differently across seasons. North Carolina State recommends maintaining the bin at 59–77°F and avoiding direct sun. Its guidance also distinguishes appropriate composting worms from worms collected randomly outdoors. NC State's household vermicomposting guidance
Leave room to remove the lid, lift or access harvesting parts, inspect underneath, and clean the surrounding floor. If the design uses a catch tray, make it accessible without moving the entire loaded system. Protect household surfaces according to the manufacturer's installation instructions, but do not seal ventilation openings to prevent a hypothetical spill. A bin is easier to maintain when checking it takes one comfortable movement rather than unloading a cupboard every time.
Prepare bedding as habitat, not just a disposable liner
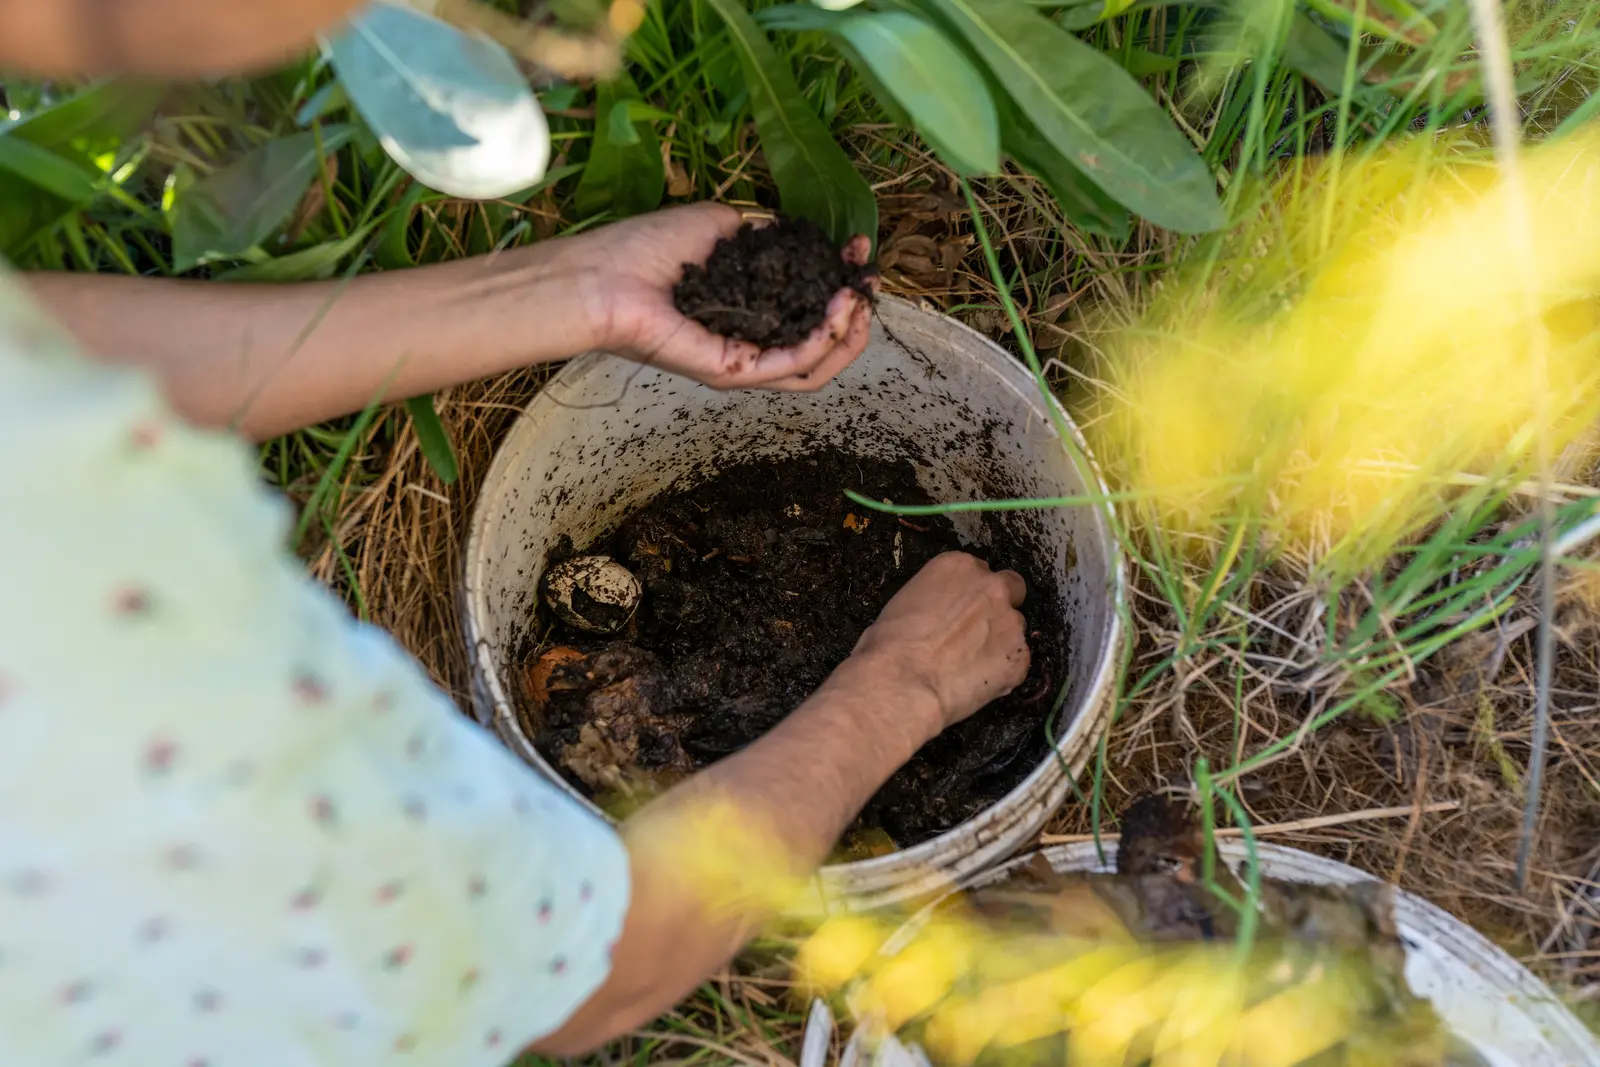
Bedding supports moisture and air space around the worms. Cornell describes the basic requirements as moisture, air, food, darkness, and suitable warmth, with paper or leaf bedding providing part of that environment. Cornell's worm-composting basics Think of the bedding as a continuing part of the system rather than a one-time packing material that can disappear without replacement. Food scraps alone are not a substitute for that habitat.
Prepare the recommended material in a separate container so you can distribute moisture before it enters the bin. Remove tape, staples, plastic windows, and coated packaging when relevant. Keep a reserve of suitable bedding near the system, clearly labeled so nobody mistakes it for mixed recycling. Follow the bin's setup instructions where they specify an arrangement, while checking that the material is neither a dry compact block nor a dripping mass. Do not add unrequested chemical treatments.
Use a conservative menu that household members can recognize
For a simple starter routine, accept small amounts of plain raw fruit and vegetable scraps while excluding meat, dairy, oily foods, and packaging. Illinois Extension lists suitable foods and cautions against those materials, including plastic-coated items. Illinois Extension's feeding guidance Remove produce stickers before scraps leave the cutting board; retrieving them after they have become mixed into bedding is a less pleasant quality-control step.
Put a short accepted-items list beside the collection container. A photograph of familiar examples can help children or guests more than a technical list. If an item is uncertain, keep it out until you confirm it is appropriate. Do not make the worm bin the destination for an unidentifiable old refrigerator container. A narrow, consistently followed menu is easier to learn from than a changing mixture whose ingredients nobody can reconstruct.
Feed by observation rather than a printed maximum
Begin with a small feeding after the worms have settled, following the supplier's establishment guidance. Place food in a defined area and cover it with bedding. At the next check, look for remaining recognizable food before adding more. NC State warns that overfeeding leads to rotting food and odors; its suggested quantities are guidance, not a guarantee that every newly established household bin will process the same amount on schedule.
A simple map prevents accidental double feeding. Divide the top mentally into four zones, note the date and location, and move to another zone only after inspecting the previous one. This is a recordkeeping device, not a biological requirement for four equal sections. If two people maintain the system, use one shared note. A second well-intentioned feeding on the same evening can overwhelm the cautious plan without either person realizing what happened.
Read the bin before trying to correct it
Check the feeding area, unused bedding, and bottom-access area separately. Record whether food is disappearing, whether bedding remains appropriately moist, and whether there is an unusual persistent smell or escaping worms. Do not interpret one visible organism or one condensation droplet as a complete diagnosis. A worm bin contains a community of decomposers, and observation is more useful when you compare several signs rather than reacting to one unfamiliar detail.
When something changes, review recent actions first. Was there a large load of watery scraps, an unusually warm day, a relocation, or a missed bedding addition? Reduce or pause feeding when previous food is accumulating, and follow extension troubleshooting advice for the actual condition. Avoid adding lime, salt, fragrances, or pesticides as improvised odor fixes. Those actions introduce another variable without establishing why the system changed in the first place.
Plan absences and overflow without a farewell feast
Before a trip, inspect the bin and arrange an appropriate care plan based on its established condition and the supplier's instructions. Do not dump every remaining kitchen scrap into it because nobody will be home to feed for a while. Leave a clear note for a caretaker describing what to check, what not to add, and who to contact. A photograph of the normal setup is useful when the caretaker has never operated that model.
Overflow is a planning issue, not evidence that the worms are failing. Keep the alternate destination practical and available during holidays or harvest season, when scraps can increase suddenly. If excess suitable material repeatedly accumulates, review the system's observed performance over several weeks before adding another bin. Expansion brings more habitat and management obligations, not just another opening into which food can disappear. Make sure the household actually wants that continuing work.
Choose a harvesting method that fits your handling ability
Single-container, stacking-tray, and continuous-flow systems expose the finished material differently. Illinois describes how worms can move upward in a stacking system while a lower tray is harvested. That design does not eliminate the need to inspect material or handle a loaded tray. Before purchasing, compare the actual harvest movement: lifting, sliding, loosening, or separating. Consider where the harvested material will go and how you will avoid spreading it through the room.
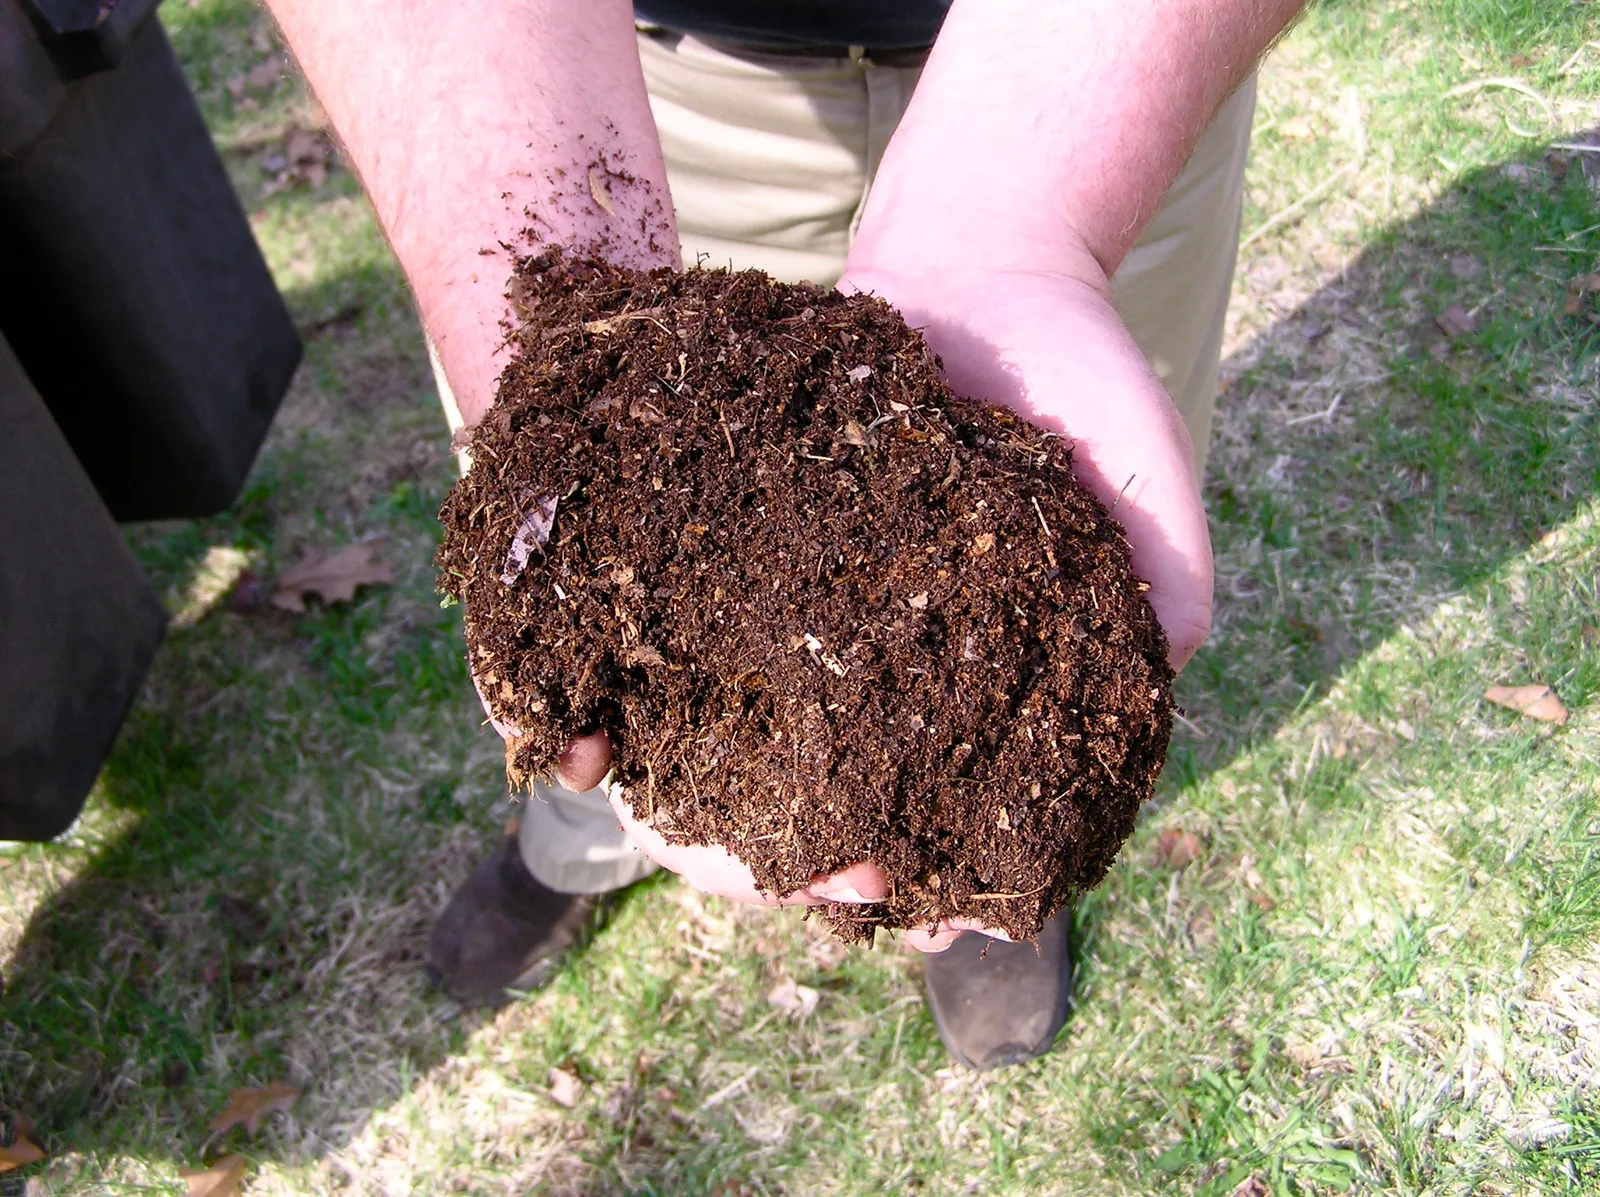
For an existing bin, follow its method and allow enough time for separation rather than assuming a calendar date makes all contents finished. Return worms and recognizable unfinished material as appropriate to the system. Keep harvested material labeled and distinguish it from ordinary potting mix. Treat it as an amendment whose use depends on the receiving plants and medium. Do not count liquid draining from a bin as automatically safe fertilizer for edible leaves or assume liquid production indicates success.
Evaluate success using a realistic household scorecard
After the initial learning period, review four questions: does the location remain suitable, can someone maintain the routine comfortably, are accepted scraps processed without accumulating, and is harvesting manageable? Record the amount diverted if useful, but do not let that number pressure you into chronic overfeeding. A stable modest system can be a better household fit than a larger one that is repeatedly neglected or difficult to service.
Use the answers to make one next decision: continue at the same scale, improve the setup, reduce accepted inputs, or expand deliberately. Keep species and supplier information with the bin record, and do not release purchased worms into natural areas. If you stop vermicomposting, seek locally appropriate guidance for rehoming the system and handling its contents. Responsible planning includes the end of the project as well as the first delivery of worms.
Sources & further reading
We favor university extension guidance and original product documentation. Linked sources support the specific facts cited; they do not endorse Garden Gear Atlas.
- NC State Extension — Worms Can Recycle Your Garbage
- Cornell University — Worm Composting Basics
- University of Illinois Extension — Vermicomposting