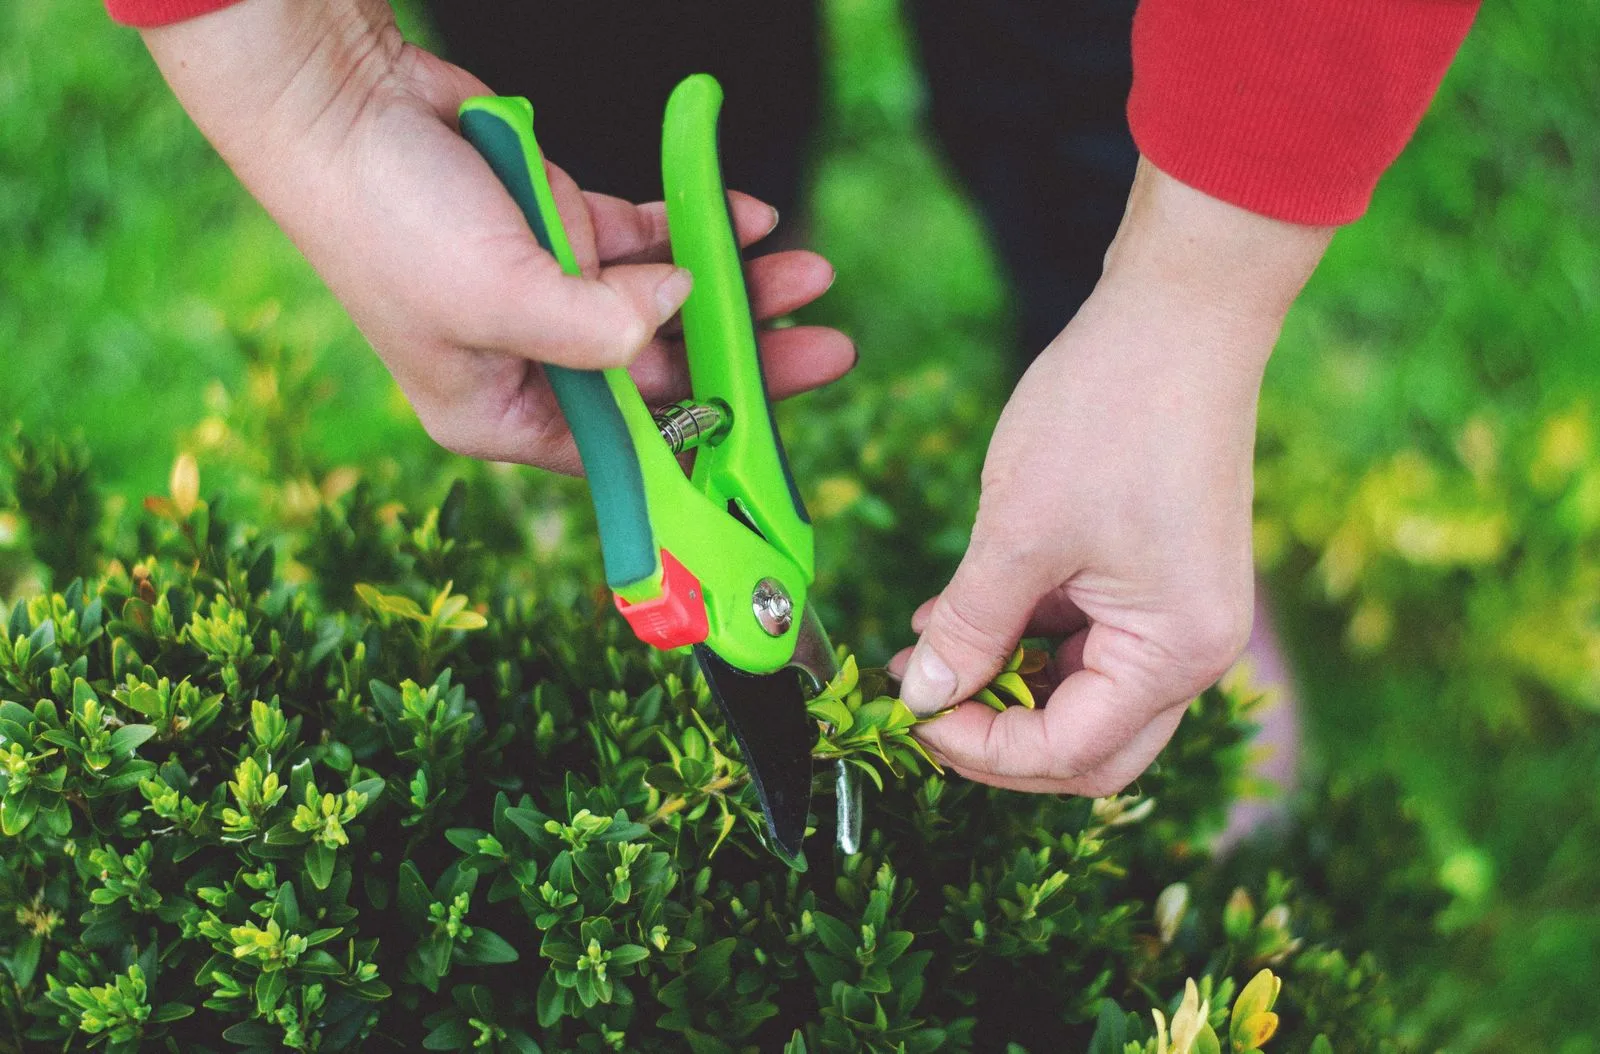
Choose a branch with a specific reason for removal
Start by identifying the plant and the problem: a small broken branch, two shoots rubbing, or a reachable branch obstructing a path. Stand back and trace each candidate to its attachment before selecting a cut. Removing the most visible twig is not always the same as resolving the underlying conflict.
The University of Maryland's pruning basics emphasizes that each cut affects growth and that smaller wounds are preferable to unnecessarily large ones. Make only the cuts needed for a clear purpose. A tree or shrub does not need to be uniformly thinned simply because pruning tools are available.
Keep this work small and comfortably reachable from firm ground. You should see the attachment clearly and have room to operate the tool without placing your body beneath falling material. A short branch can still be under tension, tangled, or attached to a damaged stem. If the cut's movement or outcome is uncertain, stop and obtain qualified help.
Do not treat a major upright stem as an ordinary side branch. Competing leaders, split trunks, large structural attachments, and extensive storm damage need a broader assessment. Learning collar cuts is useful maintenance skill; it does not turn every woody junction into an appropriate home pruning task.
Find the collar and keep it on the plant
Trace the branch inward to the point where it joins the larger stem. Look for the swollen collar around its base and the bark ridge on the upper side of the junction. The collar is not excess material to shave away for a flat finish. It belongs to the retained part of the plant's protective structure.
The University of Minnesota's pruning guide instructs gardeners to remove branch tissue just beyond the collar while avoiding a leftover stub. Position the cut according to the actual attachment. A blanket rule to cut every branch at forty-five degrees cannot describe all the different angles a collar takes.
Before closing the pruner or starting the saw, visualize the finished surface. It should remove the unwanted branch without cutting into the trunk and without leaving a protruding length of branch beyond the collar. If you cannot distinguish those boundaries, use a small, easily identified branch for practice or ask for help with that junction.
A branch shortened partway along its length uses a different decision. A heading cut near a bud or a reduction to a suitable side branch is not a branch-removal cut at the trunk. Keep those actions separate, so an instruction about cutting above a bud does not become a reason to leave a long stub at a collar.
Fit the tool to the cut and your position
Choose a sharp, clean hand pruner for small stems within its comfortable cutting capacity. Use an appropriate lopper or pruning saw when the branch cannot be cut cleanly with the pruner. Rated capacity is only an upper specification; wood hardness, condition, and your hand strength can make a smaller branch difficult.
NC Cooperative Extension's pruning guidance distinguishes tool choices and warns against flush cuts and bark stripping. The practical signal to change tools is a cut that needs excessive squeezing, twisting, or repeated crushing. Do not use sideways force on a blade to finish a job it cannot handle.
Check that handles can open without trapping your fingers against neighboring branches. Keep your other hand clear of the cutting path, including where the blade or saw could travel when the cut finishes. Reposition yourself rather than reaching awkwardly through a dense shrub. Eye protection and secure footing matter even for a modest ground-level job.
Before moving to another plant, remove debris from the tool and follow plant-specific sanitation advice where disease is suspected. Do not assume that a clean-looking blade is ready after cutting diseased tissue. Keep tool maintenance distinct from sharpening: not every edge, coating, or cutting mechanism should be treated the same way.
Prevent bark tearing before making the final cut
A very small, light branch may come away in one controlled pruning cut. If a reachable branch carries enough weight to tear bark as it separates, remove the outer weight before making the final collar cut. Do not rely on holding a heavy branch with one hand while operating an unsuitable tool with the other.
The University of Maryland's tree-pruning guide describes the three-cut principle: an initial underside cut outside the final attachment, a farther-out cut that removes weight, and a finishing cut beyond the collar. Its purpose is to prevent the separating branch from peeling bark down the retained stem.
Use that principle only where the branch and each removed section remain small and manageable, with a clear area below. The technique does not make a large limb safe to remove. If you need a ladder, cannot predict how the piece will move, or would have to work beneath it, leave the job to a qualified tree-care professional.
After the weight is removed, reassess the collar before the finishing cut. The first cut's location is not the guide for the final surface. Avoid removing additional trunk tissue just to erase every trace of the branch's former outline.
Choose timing with local disease risks in mind
For planned live-branch pruning, check guidance for the plant and region. Dormant-season visibility can make structure easier to understand, but flowering wood and disease susceptibility can change the preferred timing. A tidy winter calendar should not overrule a specific disease precaution.
Minnesota Extension's oak-wilt guidance explains that fresh oak wounds can attract insect vectors and that risk changes with season, weather, and location. Check current local oak guidance before any planned cut. Do not transfer Minnesota's exact risk dates to a different region.
For most ordinary pruning wounds, routine paint or dressing is unnecessary. Oak-wilt precautions are an important exception where local guidance directs immediate wound treatment. Keep that exception specific rather than painting every cut on every species. If a damaged branch creates a safety concern during a disease-risk period, get qualified advice on both removal and the appropriate precaution.
Inspect the result and stop when the goal is met
Look at the cut without repeatedly trimming its edges. Confirm that the collar remains, there is no avoidable stub, and bark has not been stripped along the retained stem. Do not carve a wound into a preferred shape or keep enlarging it in pursuit of a perfectly smooth cosmetic result.
Step back to check the whole plant and the original purpose. Is the path clear? Have you removed one of the rubbing branches? Does enough foliage remain to support the plant's recovery? A numerical maximum for pruning is a limit, not a target you need to reach on every visit.
Photograph any uncertain wound or pre-existing defect for follow-up advice. Keep prunings out of walkways and dispose of diseased material according to local recommendations. Over time, early attention to small, clearly selected branches can reduce the need for difficult larger cuts while preserving the plant's natural form.
Sources & further reading
We favor university extension guidance and original product documentation. Linked sources support the specific facts cited; they do not endorse Garden Gear Atlas.
- University of Maryland Extension: pruning trees in the home landscape
- University of Minnesota Extension: pruning trees and shrubs
- University of Maryland Extension: pruning tree and shrub basics
- NC Cooperative Extension: pruning trees and shrubs in your landscape
- University of Minnesota Extension: oak wilt in Minnesota