Read the pattern across the whole tray
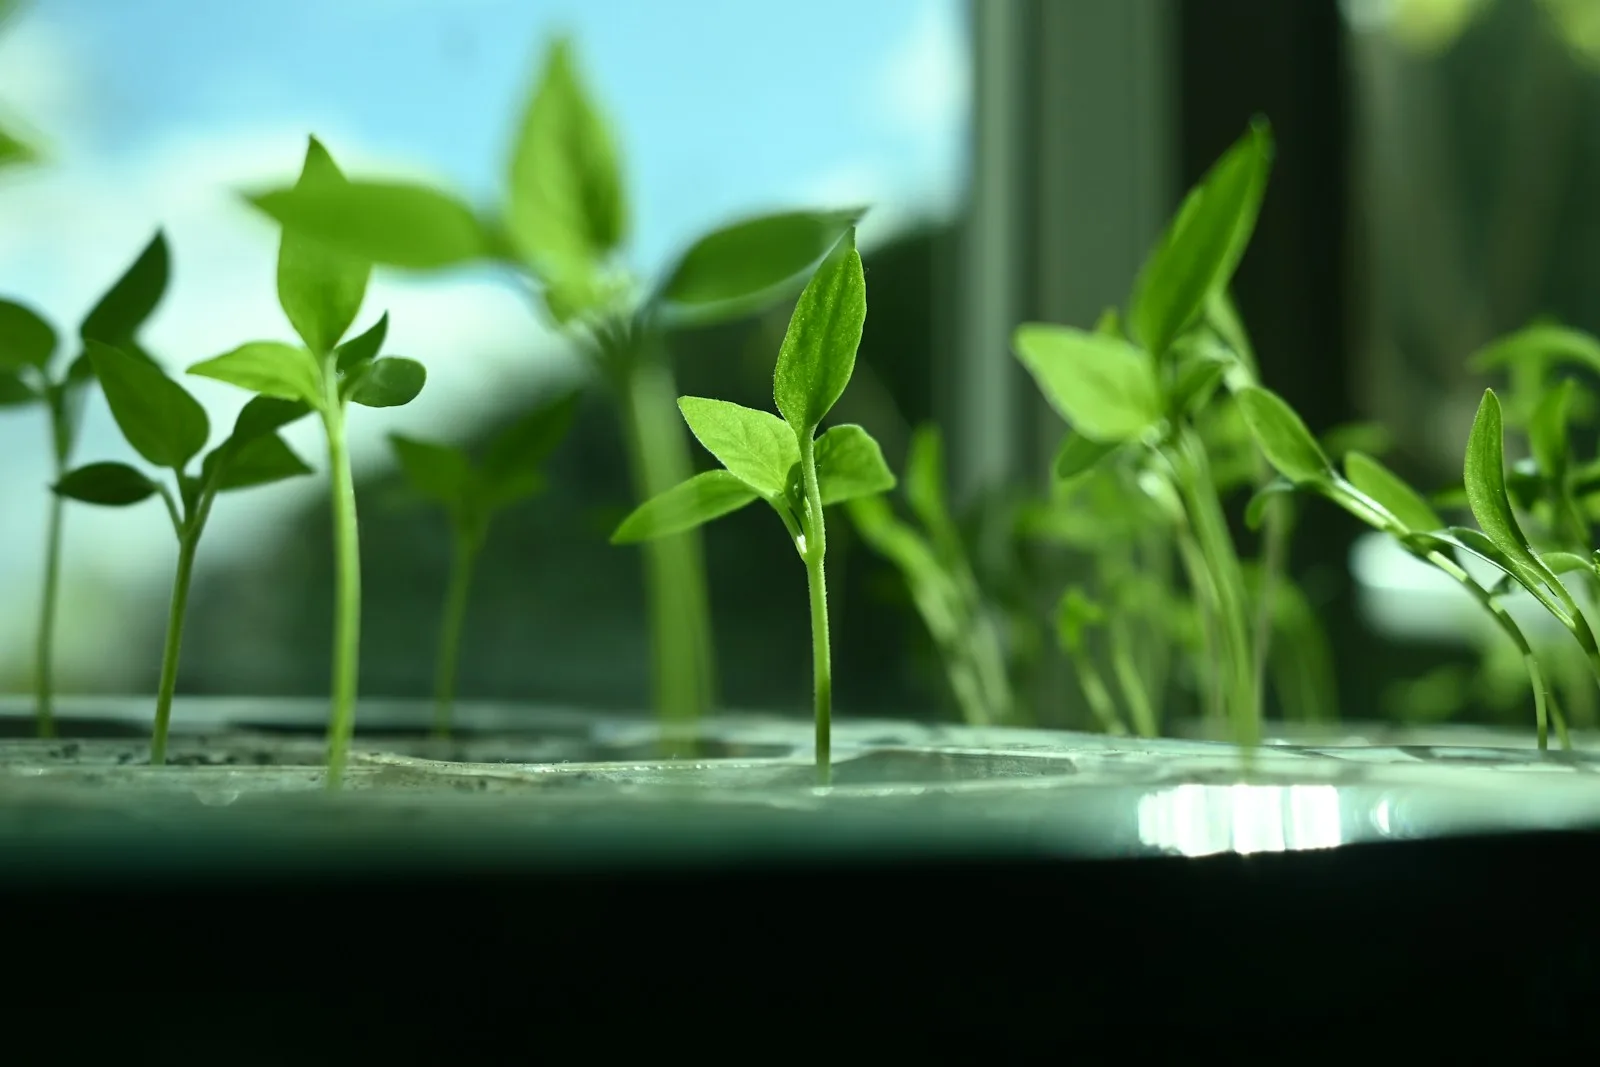
Take a photograph from above and from the side before disturbing the crop. Are the stems long everywhere, leaning toward a window, falling only along a wet edge, or bent where watering struck them? Record the crop, seed lot, sowing weight, tray size, cover-removal date and time the lights run. A tray that looks poor on harvest day often reflects several earlier choices. Compare plants of the same species and age; a mixed tray can combine very different natural stem lengths.
For a lighting problem, useful equipment serves two separate jobs: bars can spread light along a tray, while a temperature-humidity monitor records the surrounding air. Check existing equipment first. A light with a bright center may leave the corners weak, and a shelf full of fixtures can also accumulate warmth. This guide focuses on growing conditions after emergence; use the tray and medium guide if water cannot move through the growing system reliably.
Distinguish intentional stretching from an overlong blackout
Some production methods include darkness after germination to lengthen stems for cutting. Maryland Extension describes that effect, but it is a choice within a crop-specific schedule rather than a required fixed number of days for all microgreens. Leaving a fast crop covered while waiting for slow seeds can produce excessive stretching. Separate species with different emergence rates so the earliest seedlings do not dictate an awkward compromise for everything else. Growing microgreens and baby greens indoors
Inspect the crop during the covered stage rather than waiting for a calendar alarm. When the intended stage is reached, remove the cover and provide the planned light. If the batch is already very tall and weak, more darkness will not improve stem strength. For the next sowing, shorten the covered stage while retaining the same crop, seeding weight and growing position. Note whether the resulting height is still practical for a clean cut above the medium; maximum shortness is not the only useful goal.
Measure duration and distribution before increasing intensity
Daily light integral, or DLI, describes the total photosynthetic light received during a day. Under a steady artificial light, DLI equals PPFD multiplied by hours and by 0.0036. For example, 150 micromoles per square meter per second for 16 hours gives 8.64 moles per square meter per day. This is a worked calculation, not a target for every crop. Virginia Cooperative Extension explains how intensity and duration combine. Calculating and using DLI
If you have a suitable plant-light meter, compare the middle and corners at canopy height. If not, use the fixture's growing guidance and watch the distribution of stretching while changing placement conservatively. Do not equate phone lux readings with measured PPFD without an appropriate method for that light spectrum. Extending the timer increases daily light but does not repair a dark corner. A second bar or a smaller lit growing area may address distribution more effectively than moving one intense lamp extremely close.
Treat published light settings as starting points for trials
Virginia Tech's microgreen production guide gives a general DLI range of 9–16, while showing that studied crops and desired outcomes differ. It describes an 18-hour, roughly 250-PPFD setup at its own facility. Those are production conditions with a particular system, not proof that a home tray needs that intensity. Maryland suggests about 16 hours of total light; Utah State uses 18 hours in its home method. Choose a documented starting schedule and keep it stable long enough to compare results. Virginia microgreen production, Utah home microgreens
Avoid treating every long stem as inadequate light. The crop, duration of darkness, density, temperature and harvest stage all affect its appearance. If foliage becomes bleached or dry after a lighting change, stop escalating and inspect heat and moisture. Measure from the current leaf canopy rather than the empty tray bottom, since the distance changes during growth. Follow the fixture's clearance and mounting instructions. The grow-light cost tool helps compare runtime costs once the biological setup is working.
Move air gently and check where the moisture goes
Utah State recommends a gently blowing fan, and Maryland emphasizes air circulation around the dense canopy. The practical aim is air movement without continuously flattening the seedlings or drying one edge much faster than the rest. Set the airflow so leaves show slight movement rather than remaining pressed sideways. Check the corner nearest the fan as well as the sheltered center; moving air can uncover a watering imbalance that was less obvious under still conditions.
Virginia Tech lists common microgreen production humidity around 50–70% and emphasizes monitoring, with conditions adjusted for the crop and facility. A room reading is not necessarily the humidity inside a crowded canopy. Check for persistent condensation, stagnant enclosed shelves and trapped water beneath trays. A circulation fan moves existing air but does not remove moisture from a sealed room. If humidity remains high, improve the room's normal ventilation or use suitable dehumidification according to its instructions, then reassess watering as drying changes.
Separate crowding, uneven watering and stem decay
Seed should be spread evenly at a crop-appropriate density. UF/IFAS warns that a stand dense enough to inhibit airflow increases disease risk and describes watering from below after germination to avoid unnecessary canopy wetness. If collapsed patches follow thick seed piles, reduce the sowing rate and improve distribution in the next batch. Weigh the seed rather than copying a spoon measurement across crops with different seed sizes. UF/IFAS microgreen cultivation
Inspect moisture beneath both strong and weak patches. A dry edge may wilt while the middle remains saturated. Check whether the tray sits level, whether the medium was evenly moistened and whether all of the bottom receives water. Bottom watering is useful only when excess water can drain and the medium actually absorbs it. Do not compensate for one dry corner by leaving the entire tray submerged. If stems are soft or pinched at the base, isolate the tray and consider decay rather than trying to prop the canopy upright.
Growth troubleshooting cannot establish food safety. Do not eat microgreens showing mold, slime or decay, and do not use an improvised spray as a way to rescue them for harvest. Review the crop and clean-harvest routine before restarting. Good-looking roots or corrected airflow do not demonstrate that a questionable batch is safe to consume.
Use two small batches to answer one question
Choose the strongest hypothesis and test it simply. For example, sow two equal small trays of the same seed lot and medium, keeping the light, water and harvest stage alike, while reducing seed weight in one. Record canopy height, leaning, drying pattern and usable harvest, not just how full the tray looks. If you change density, light distance and blackout together, a better result will still leave you unsure which change mattered.
Repeat the more promising setup once before scaling it to every shelf. Compare the crop at the same developmental stage, since waiting longer can increase size while worsening texture or lodging. Write the working settings on the tray label: sowing weight, actual covered duration, light hours and the sign that prompted watering. Keep those details specific to that crop and season. A winter window trial and a warm summer shelf can behave differently even with the same seed packet, so the record should describe conditions rather than promise a universal recipe.
Sources & further reading
We favor university extension guidance and original product documentation. Linked sources support the specific facts cited; they do not endorse Garden Gear Atlas.
- University of Maryland: Growing Microgreens and Baby Greens Indoors
- Virginia Cooperative Extension: Calculating and Using DLI
- Virginia Cooperative Extension: Microgreen Production
- Utah State: Grow Your Own Microgreens
- UF/IFAS: The Scoop on Microgreens