Start with the harvest you can use
Plan the tray around a meal-sized harvest and the place where you will wash it. A standard greenhouse flat is convenient on a grow rack, but inconvenient in a small sink. A little food container can be easier to carry, inspect and empty. Measure the lit shelf, sink opening and clear space for lifting a planted tray before choosing the advertised size. Include room for your hands rather than using every available inch.
Maryland Extension describes shallow containers and paired trays: the inner tray drains while the outer tray retains water. Its loose-medium method uses about 1–1½ inches of growing material. These dimensions suit a short crop harvested above the medium, rather than transplants that will need separate root balls. University of Maryland Extension: Growing Microgreens and Baby Greens Indoors
Our practical starting choice is one small tray of one crop. Buy the second set after observing the first harvest. This makes it possible to change the footprint without abandoning an entire rack of incompatible equipment. Decide whether you want a handful for sandwiches or several servings for a shared meal; those are different reasons to expand.
Check both halves of the tray pair
The inner tray needs usable drain holes and enough stiffness to lift without folding the root mat. The outer tray needs to hold drainage without leaking onto the shelf. Nesting should leave a way to lift the inner tray easily. Two trays with identical outside dimensions can still be a poor pair if their rims lock together or the inner base becomes difficult to inspect.
Purdue Extension recommends a matched pair, one perforated and one solid, deep enough to hold approximately an inch of growing medium. It also identifies fresh potting medium, coir and dedicated growing mats as possible systems. A solid tray by itself is therefore not evidence of a complete drainage arrangement. Purdue Extension: Grow Microgreens at Home
Test an empty pair at the sink, then repeat with wetted medium before adding seed. Lift it, let drainage finish and check the outer tray. If you cannot remove surplus water without tipping the crop, solve that access problem now. Avoid relying on a promise to water perfectly: the useful feature is being able to correct an ordinary overfill quickly.
Choose loose mix by its function
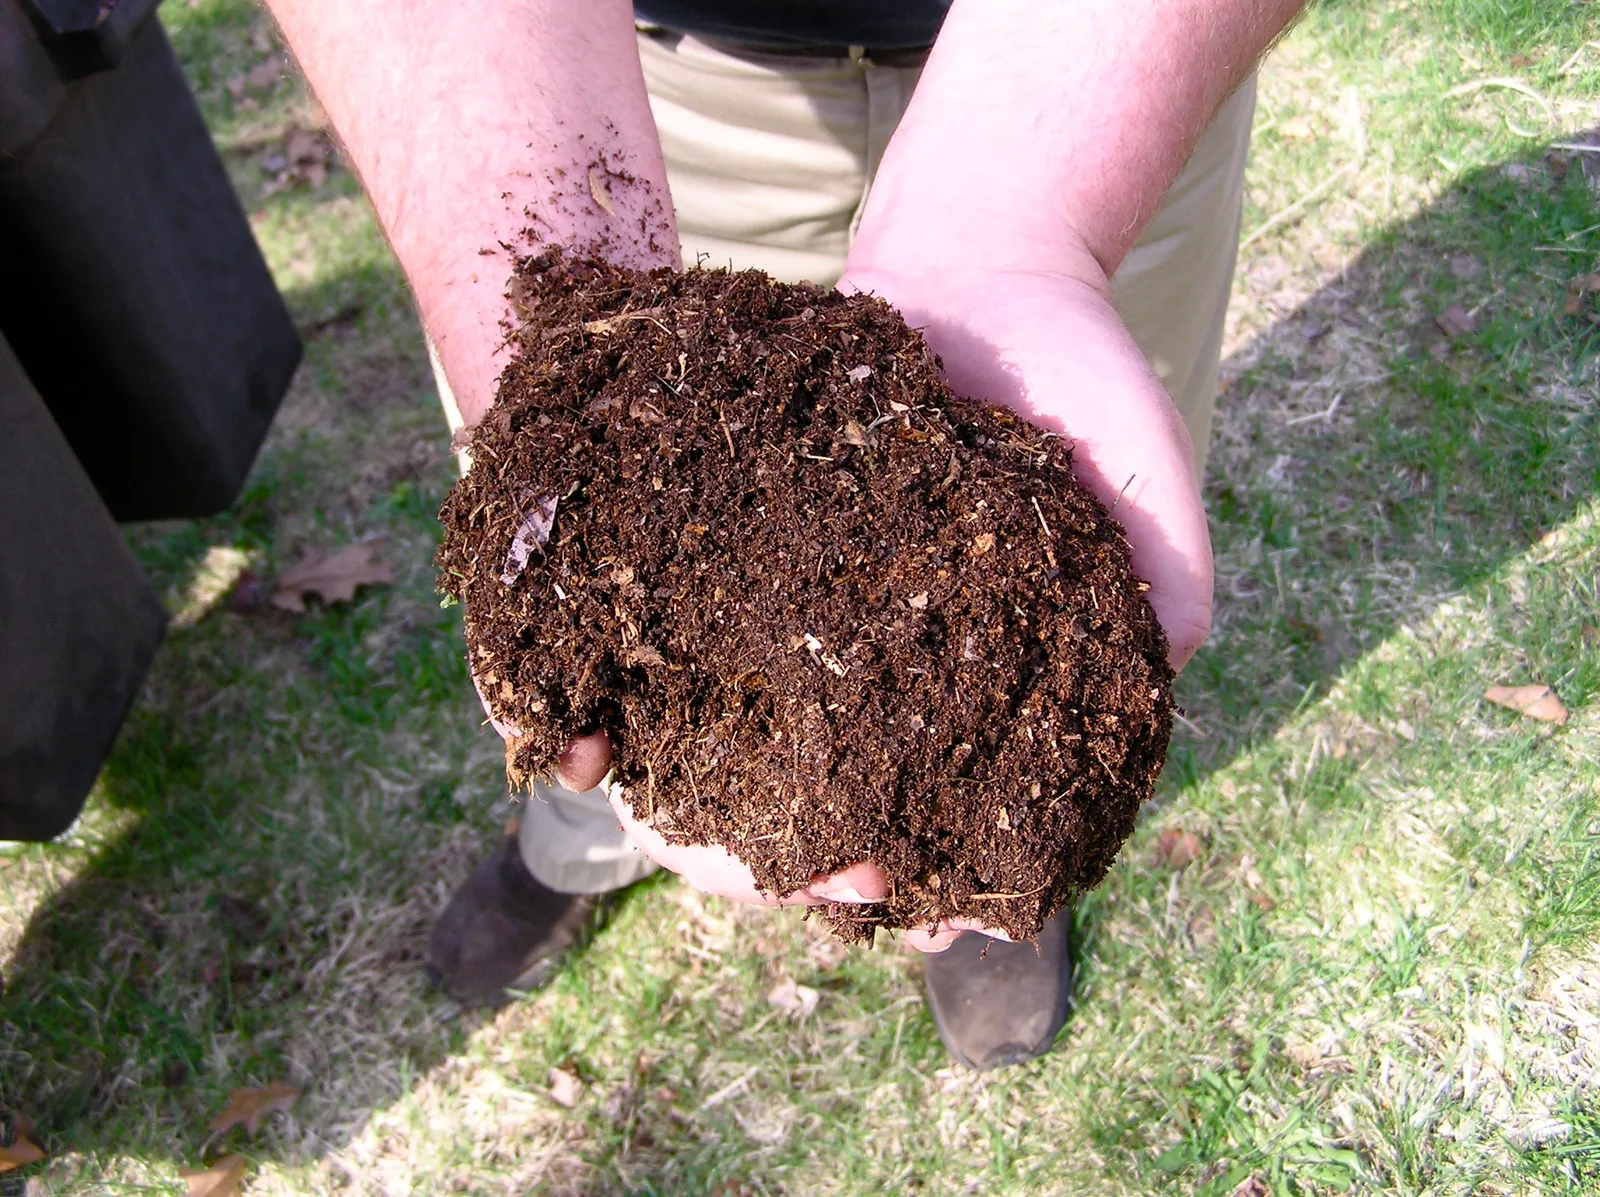
For a first batch, a fresh, lightweight commercial soilless mix provides a straightforward reference point. Read the ingredients and intended use rather than choosing by the word “organic” alone. The mix should spread into an even shallow layer; large woody chunks make it harder to achieve consistent surface contact. Keep its package identification so you can repeat the trial or investigate a disappointing batch.
Growing medium supplies support, water and air. Maryland explains that excess water occupying its pore spaces prevents fresh air from returning, and that garden soil can be especially unsuitable in shallow containers. Dry soilless material may also resist wetting, so premoistening matters. University of Maryland Extension: Growing Media for Containers
Mix water through the required quantity in a clean container before filling the tray. Look for an evenly damp result rather than a wet surface over a dry middle. Fill level without pressing it into a dense slab. If one corner always needs extra water, check the shelf and fill depth before changing the recipe. The unevenness may belong to the setup, not the bag.
Decide whether a mat solves your actual problem
A purpose-made microgreen mat replaces the loose substrate with a fitted rooting surface. It can make handling spent roots simpler and reduce the loose material near a harvest. That convenience is valuable where there is little cleanup space. It does not establish that every sheet of coir, hemp or household fabric will behave the same way, nor that a mat can be substituted into an unrelated hydroponic kit.
Maryland lists mats made from materials including hemp, coir and wood fiber. Match the specific mat to the tray and its growing directions. University of Maryland Extension: Growing Microgreens and Baby Greens Indoors
Ask three questions before ordering: how is the mat initially wetted, how is water replenished after germination, and what is discarded or cleaned at harvest? Also check whether the product expects a nutrient solution. Compare the cost per completed crop, not only the cost per sheet. For a fair home comparison, grow the same seed lot in equal-sized areas of mix and mat, record watering attention and usable harvest, then choose the routine you preferred.
Practice bottom watering without maintaining a swamp
Once roots can take up water from below, a removable catch tray can make replenishment easier without pouring through a dense canopy. South Dakota State describes watering by briefly setting the growing container in a larger vessel, and cautions against moving seed or splashing medium onto leaves. South Dakota State University Extension: Growing Microgreens at Home
Start with a modest amount of clean water and watch how this particular tray absorbs it. Lift the inner tray to check the result; do not keep topping up an unseen pool because the top looks dry. A well-used catch tray is something you inspect and empty. Continuous contact with a reservoir belongs to a specifically designed system with its own directions.
Keep a simple note of the tray's weight after watering and after it begins to dry. Combine that comparison with surface and drainage checks. The note helps another household member understand the task when they water for you. It is more useful than writing “one cup every morning” before the crop has demonstrated its demand. Recheck after changing the crop, medium depth, lighting or room conditions.
Make cleanliness possible in the equipment you choose
Fewer awkward corners can make a tray easier to scrub, inspect and dry. Before buying a deeply ribbed insert, imagine removing roots from every recess after harvest. Keep the sowing tools with the microgreen supplies rather than returning them to a bucket of outdoor gardening tools between uses. Give clean equipment a dry, protected place to wait for the next crop.
New Mexico State distinguishes removing dirt from sanitizing and directs growers to follow sanitizer labels. Choose a suitable product for the particular surface and intended use; dilution, contact time and any rinse requirement come from that label. New Mexico State University: Growing Microgreens
Seed and growing inputs can also introduce contamination. Nevada's produce-safety guidance emphasizes traceable seed handling, suitable water and growing media of known quality. A clean-looking tray does not compensate for questionable inputs. University of Nevada, Reno: Microgreens and Produce Safety
Our default is fresh medium for each home microgreen crop. This intentionally favors a repeatable reset over trying to judge the condition of an old root mat. Buy enough for the batches you will actually grow, keep the remainder closed, and separate filling from harvesting so that loose material stays out of the food-handling area.
Use one complete crop to decide what to change
At harvest, evaluate the system in the same order you assembled it. Was every part of the tray accessible? Did the inner tray drain? Could you cut without scraping the medium? Was cleanup easy enough that it happened immediately? A slightly smaller harvest from a tray you enjoy using may be a better result than a larger setup that becomes a chore.
Photograph the filled tray and record its dimensions, medium, seed quantity and watering observations. On the next batch change one meaningful variable. For example, retain the same seed and medium while dividing a large tray into two smaller containers. You can then judge whether handling improved without also wondering whether a new crop caused the different growth.
Expand only after deciding where the additional harvest will go. Include space for empty clean trays as well as planted ones. A practical microgreen station supports sowing, growing, harvesting and resetting; the growing shelf is only one part of that complete routine.
Sources & further reading
We favor university extension guidance and original product documentation. Linked sources support the specific facts cited; they do not endorse Garden Gear Atlas.
- University of Maryland Extension: Growing Microgreens and Baby Greens Indoors
- University of Maryland Extension: Growing Media for Containers
- Purdue Extension: Grow Microgreens at Home
- South Dakota State University Extension: Growing Microgreens at Home
- University of Nevada, Reno: Microgreens and Produce Safety
- New Mexico State University: Growing Microgreens