Identify the crop and the part you will eat
Microgreens are young edible seedlings harvested by cutting their stems above the growing surface. Sprouts are generally eaten much earlier with the seed and root, and are commonly produced through soaking and rinsing. Nevada distinguishes these crops and describes contamination risks for microgreens despite that difference. Treat a microgreen tray as food production, without assuming its growing method makes it free of pathogens. University of Nevada, Reno: Microgreens and Produce Safety
Keep those two systems separate when reading instructions. A soaking jar tutorial does not tell you when to uncover a planted tray, and a tray harvest date does not tell you how to operate a sprouting jar. Likewise, ordinary seedlings being raised for outdoor planting are not automatically an edible microgreen crop.
Choose a named species sold for edible microgreen use and retain the packet. Do not experiment with unidentified seed, ornamental seed mixes or the foliage of vegetables simply because you eat their fruits or roots. A clear label is a better starting point than a photograph of mixed greens. When the intended edible use is unclear, select a different seed product.
Choose flavor before buying a large seed bag
Write down how you intend to use the harvest. A peppery topping for sandwiches, a mild addition to a salad and a distinct herb garnish serve different meals. If nobody in the household likes the flavor, fast germination will not make that crop useful. Buy a small quantity first and try the harvest in the actual dish, instead of judging it only by appearance.
Maryland lists cabbage-family crops including broccoli relatives, kale, radish and mustard among suitable choices; it notes that cabbage-family microgreens grow faster than beet-family crops, while basil and cilantro are slower. Separate species when their germination and growth rates differ. University of Maryland Extension: Growing Microgreens and Baby Greens Indoors
For a first comparison, choose one mild crop and one more assertive crop in separate labeled containers. Sow on different days if you want separate tastings. Reserve a slower herb for a later trial when you know how long you are willing to occupy the shelf. There is no advantage to sowing an expensive herb densely if its harvest misses the meals for which you wanted it.
Match seed size and preparation to the crop
Untreated seed matters because the shoots are harvested so young. South Dakota State warns against consuming residues from seed treatments and recommends untreated seed for microgreens. Keep the original label and lot information; organic status by itself is not a test showing that a seed lot is free from human pathogens. South Dakota State University Extension: Growing Microgreens at Home
Use the seed supplier's directions for that crop's sowing rate and any soaking step. Do not give tiny and large seeds the same tablespoon measure merely because they occupy equal trays. Nor should all seeds be soaked for a fixed number of hours. Write the measured quantity on your label or notebook so you can repeat an even stand or reduce a crowded one.
Our preferred first layout is one species per small container, with an unobstructed space to grip the rim. It lets you remove a failed batch without untangling it from a successful crop. If you later want a mixed garnish, combine separately harvested greens in the kitchen. That preserves control over growing and cutting dates while still delivering the flavor combination you wanted.
Give sowing and food handling their own clear surfaces
Before opening seed, clear the worktop and assemble only the supplies for this batch. Keep outdoor potting soil, dirty plant pots, pets and raw-food preparation away from the growing and harvesting area. Store seed closed and dry, and keep its scoop from touching wet medium. These are practical ways to reduce unnecessary transfers between the things you handle.
New Mexico State's microgreen guidance separates cleaning from sanitizing, identifies food-contact tools and other possible sources of cross-contamination, and requires following sanitizer labels. It also notes that attached seed hulls can carry contamination and become a physical nuisance when eaten. New Mexico State University: Growing Microgreens
Prepare clean scissors, a clean harvest container and suitable water before cutting. Wash your hands before sowing and harvesting, as South Dakota State advises. South Dakota State University Extension: Growing Microgreens at Home
For a shared household setup, write a short routine where everyone can see it: which equipment belongs to the crop, where clean equipment goes, and which tray is ready to harvest. Keep this practical rather than elaborate. The purpose is to make the next correct action obvious when somebody else notices that a tray needs attention.
Harvest by development and intended use
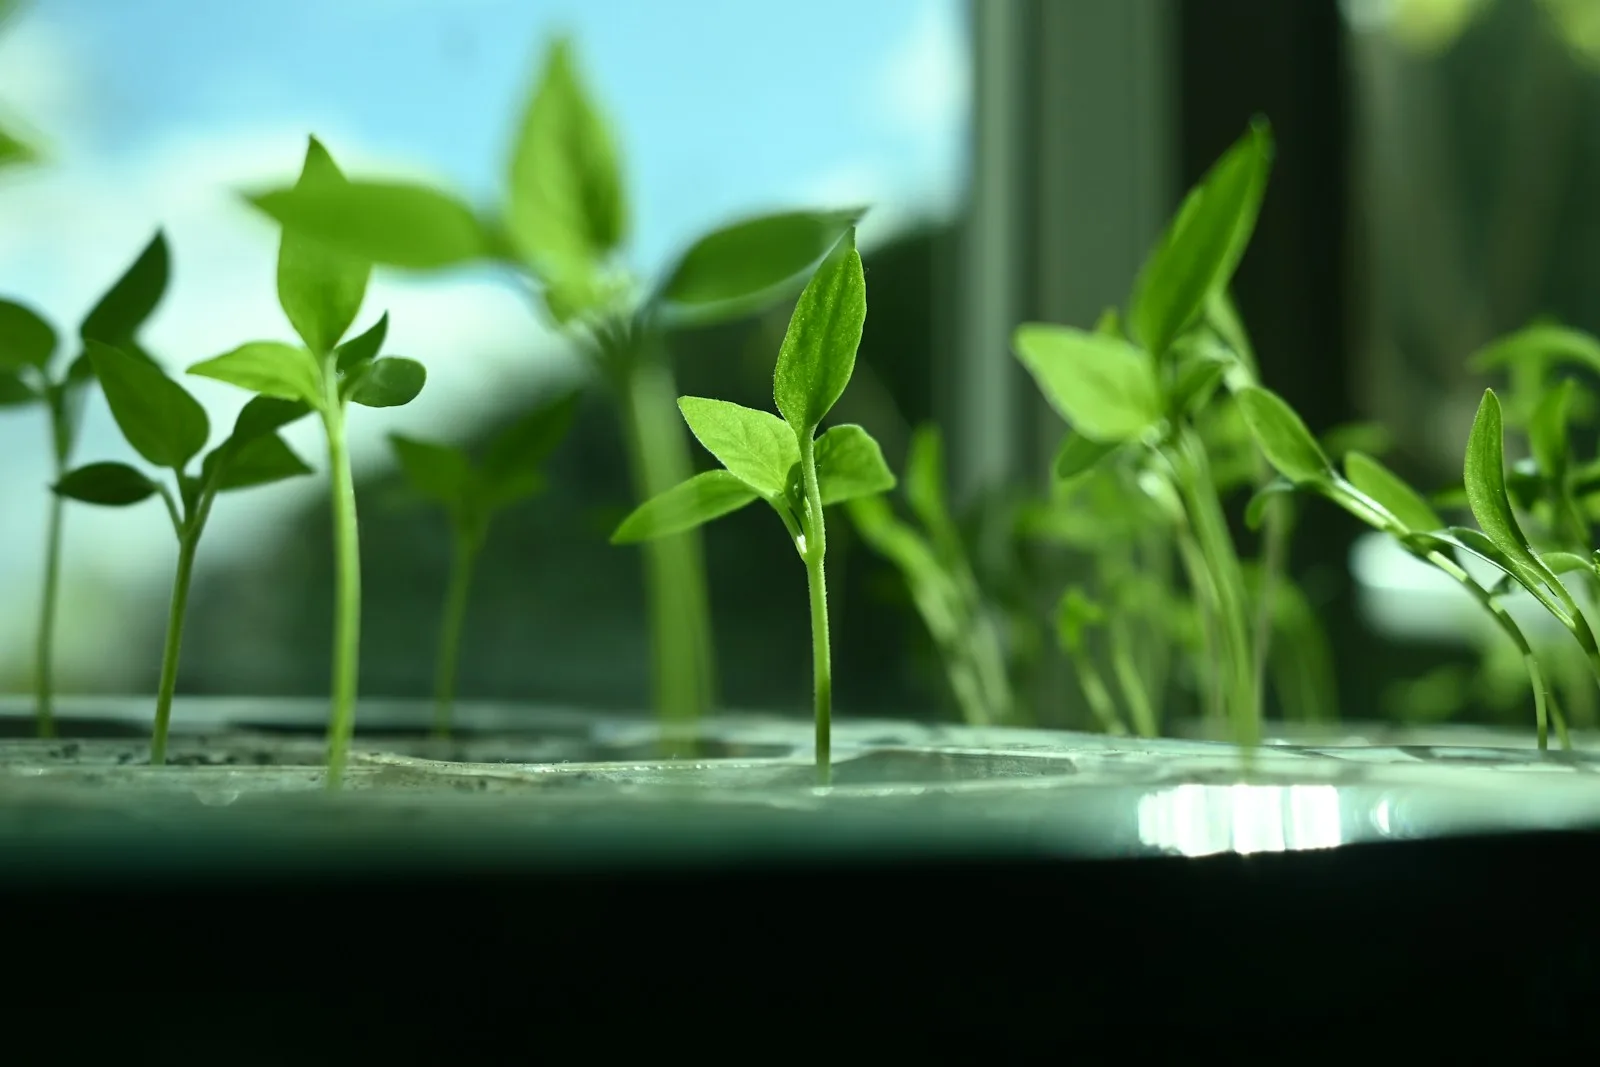
Look at the plant rather than treating a packet's day count as a deadline. The first pair of leaves are seed leaves, or cotyledons; the next leaves begin to resemble the mature plant. Maryland gives a broad microgreen window of 7–21 days after sowing and distinguishes this young harvest from later baby greens. University of Maryland Extension: Growing Microgreens and Baby Greens Indoors
Purdue notes that pea shoots can be harvested taller and with more developed leaves than many small microgreens. Its guidance is to cut above the growing medium with clean scissors or a sharp knife. This is a useful example of why one height should not govern every crop. Purdue Extension: Grow Microgreens at Home
On your first batch, inspect a few plants at the edge without pulling up their roots. Decide whether the stems are easy to cut cleanly and whether the crop has reached the supplier's harvest stage. Harvest when you can handle it promptly. Avoid scheduling every tray to mature before a weekend away, when neither careful cutting nor immediate use will be convenient.
Refrigerate promptly and wash near serving
New Mexico State recommends washing microgreens at meal preparation, rather than well before storage, because the leaves are delicate and added moisture and tissue damage can shorten their usable life. It advises eating them within 3–5 days of harvest. Use that short planning window, not the longest storage claim you can find, to size home batches. New Mexico State University: Eating Microgreens
Mark the harvest date on the container and keep the oldest batch visible. A smaller container is useful when it prevents greens from being forgotten behind other food. Handle the cut leaves gently and avoid packing them tightly enough to crush them. Wash the amount you are preparing to eat, using suitable clean water, and keep the remaining harvest refrigerated.
Do not use appearance or a fresh smell as proof that a contaminated crop is safe. Nevada emphasizes evaluating the crop for contamination before harvest and keeping food-contact equipment sanitary. University of Nevada, Reno: Microgreens and Produce Safety
If you know a tray was contaminated or it has obvious decay, discard it rather than trying to rescue it by washing. Record what happened, clean the setup and correct the cause before sowing again. A small planned batch makes that decision easier than an oversized harvest you feel obliged to save.
Build successions from what you actually eat
Treat the first two or three crops as a household-use trial. Record sowing date, first useful harvest date, quantity eaten and quantity discarded. This gives you a better starting interval than copying a commercial harvest schedule. If half a tray regularly remains unused, reduce its area before buying a brighter light or ordering more seed.
For example, suppose a small tray supplies three meals and is ready sooner than expected. The next improvement could be sowing two half-trays several days apart. You gain fresh portions on separate days without increasing the total seed or shelf area. If a slower herb occupies the same space much longer, grow it only when you have a specific use planned.
Plan a fresh sowing after the harvest rather than assuming repeated cuts from every microgreen crop. Keep any experiment with regrowth separate from your dependable supply. The result to aim for is a familiar crop, a known harvest stage and a repeatable cleanup routine. Variety can then be added one small container at a time, with clear labels and enough time to enjoy the difference.
Sources & further reading
We favor university extension guidance and original product documentation. Linked sources support the specific facts cited; they do not endorse Garden Gear Atlas.
- University of Maryland Extension: Growing Microgreens and Baby Greens Indoors
- Purdue Extension: Grow Microgreens at Home
- South Dakota State University Extension: Growing Microgreens at Home
- University of Nevada, Reno: Microgreens and Produce Safety
- New Mexico State University: Growing Microgreens
- New Mexico State University: Eating Microgreens