Start after the buying decision
This is a placement guide for a light you own or have shortlisted, not another comparison of wattage labels. Set out the exact model, mounting instructions, intended plant area, and any manufacturer intensity map. Identify what the fixture can physically illuminate before arranging the pots for appearance. A narrow beam over a single large plant and a linear bar above a shelf create different useful growing spaces even if their electrical power is similar.
Write the desired result in plain language: maintaining several foliage plants through winter, keeping a compact succulent display, or supporting a specific flowering plant. That purpose affects how you interpret the plant response. Do not use a manufacturer's seedling illustration as evidence that the same layout will illuminate a tall, dense houseplant from top to bottom. The first task is matching the shape of the lighted area to the shape of the plants.
Measure to the leaves, not the shelf
The relevant distance is from the fixture's emitting surface to the foliage receiving the light. Pot height, plant height, and the fixture housing can all confuse a quick measurement. A lamp twelve inches above a shelf is not twelve inches above a plant standing ten inches tall on that shelf. Check the tallest leaf and the lower foliage separately, especially where leaves arch sideways into or out of a beam.
Record the direction as well as the distance. A side-mounted light and an overhead light may hit different leaves at different angles. Make a simple list of canopy heights and positions instead of assuming the tallest plant should always go at the back. If the lamp is aimed diagonally, measure along the light path where practical and note the angle. Consistent records matter more than pretending that an irregular living canopy has one exact uniform distance.
Read the model's beam and intensity information
Manufacturers can offer different optical versions within one product family. Soltech's Vita, for example, lists narrow and wide beam choices and explains that their placement uses differ. That is a concrete reason not to transfer a distance recommendation between bulbs with similar names. The exact optic, dimmer setting, and fixture arrangement matter. Soltech Vita: beam options and placement guidance.
When an intensity map is available, check its stated height and footprint, not just the center reading. Your edge plants may receive less than the main specimen. If the map was measured in a reflective enclosure, an open room will not necessarily reproduce it. Treat manufacturer distances as starting conditions to verify within the stated use, not a promise that every species is comfortable anywhere inside an advertised coverage area.
The equipment shortlist represents three different layouts, not a universal ranking. Vita is a warm-white bulb for a focused display; the SANSI 36W bulb is another single-socket option with a higher manufacturer-stated PPF, which still requires checking the footprint. Barrina's two-foot MF10 bars can be distributed along shallow shelves instead of concentrating everything beneath one bulb. Choose the layout first, then commission the exact model. Barrina MF10 model specifications.
Group by light need before equalizing height
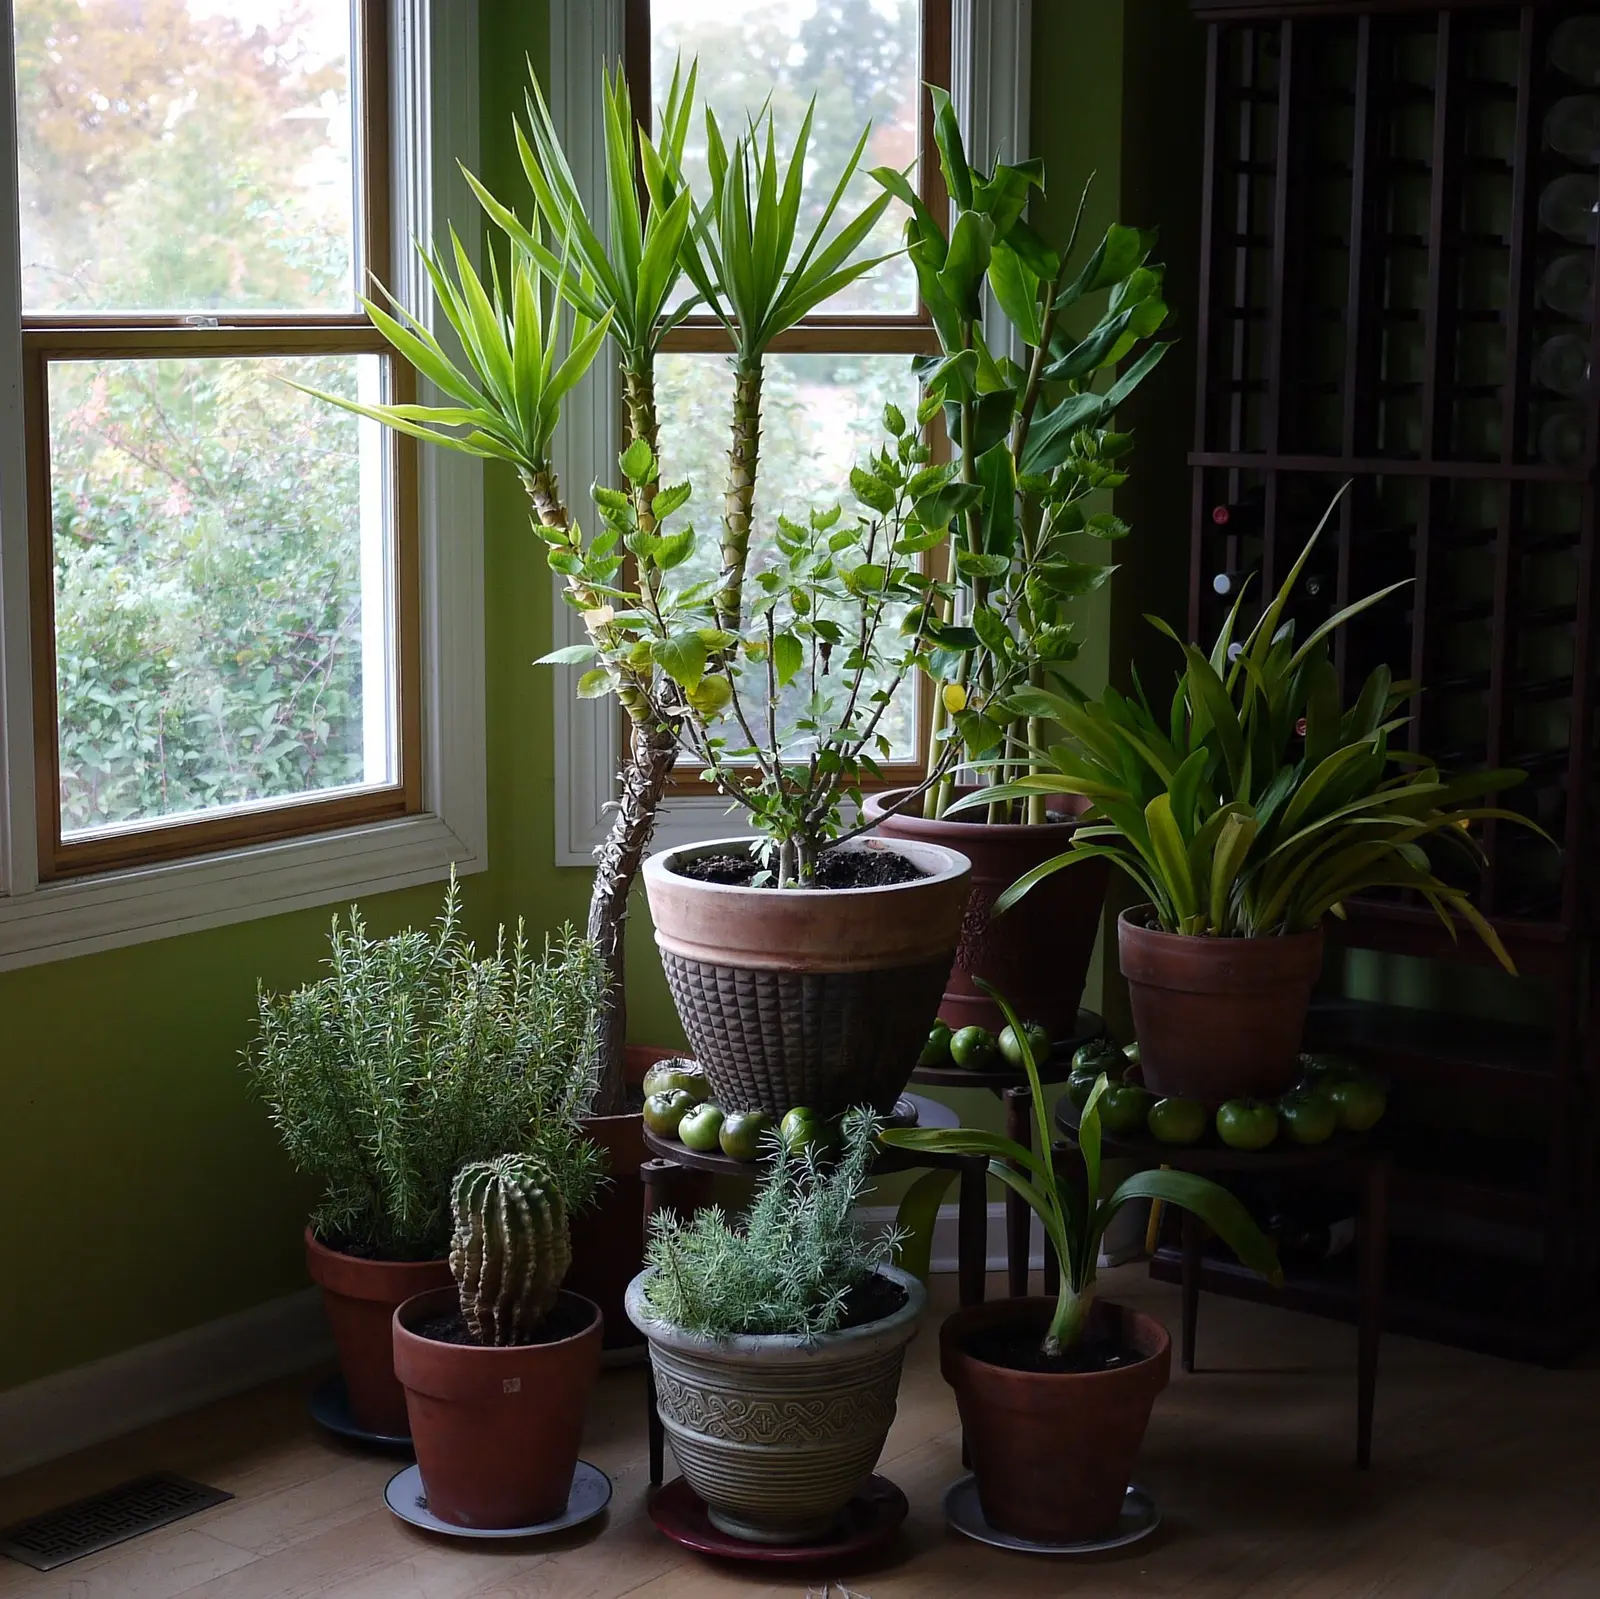
Raising every short pot until all leaf tips line up can simplify geometry, but it can also place a lower-light plant into stronger exposure than intended. First group compatible light needs. Then use stable, water-resistant risers or adjustable shelves to reduce unnecessary height differences within those groups. A tall plant with modest light requirements may belong beside the main beam rather than directly underneath it.
Consider a hypothetical shelf holding a short rosette succulent, a medium foliage plant, and a tall vine. One common lamp height may leave the succulent shaded while the vine approaches the fixture. Rather than lowering the whole light, move the tall vine to a separately suited position and raise the short pot only if the support is stable. If the collection cannot be arranged within a workable light field, dividing it between fixtures is a legitimate result.
Remove shadows without creating a hazardous installation
Look from the fixture toward the plants and identify leaves, shelf edges, and supports that block the path. Closely packed pots can shade one another even when every label says they are beneath a grow light. Give the foliage room to expand, and reassess after a fast-growing plant produces several new leaves. Where the manufacturer permits vertical mounting, a suitable side light can serve foliage an overhead fixture misses.
Use rated mounts, secure cables independently of fragile stems, and keep water paths away from electrical connections. Follow the fixture's rules for enclosed spaces, ventilation, damp locations, and compatible sockets or dimmers. A lamp that physically screws into a socket is not automatically appropriate for its shade or enclosure. Do not drape reflective material across ventilation openings to improve coverage. If a shelf cannot support a safe adjustable installation, change the shelf or the plan.
Keep duration separate from placement
Moving a light changes the intensity and distribution reaching the canopy; a timer changes how long exposure lasts. These are related but distinct adjustments. A weakly lit corner is not necessarily solved by leaving every plant illuminated all night. Choose an initial schedule suitable for the species and intended growth stage, and preserve an appropriate dark period. Record any natural window light that contributes significantly to the same plants.
Iowa State recommends beginning with fixture guidance and refining the setup through observed growth, with adjustable placement and timers among the useful design features. Apply that approach as a controlled adjustment process rather than a reason to change everything at once. Iowa State: setting up supplemental lights. If you alter height, leave the timer unchanged initially so the next observation has a clearer explanation.
Observe new growth and distinguish possible causes
Take a baseline photograph, mark the fixture setting, and inspect both the brightest and dimmest positions. Stretching or leaning may suggest insufficient light; bleaching or scorch may suggest excessive exposure. These symptoms are not exclusive diagnoses, so also check watering, temperature, pests, and the timing of the change. Minnesota Extension describes low- and high-light symptoms as part of assessing indoor growing conditions. Minnesota Extension: lighting for indoor plants.
Evaluate the foliage produced after the change rather than expecting old stretched stems to shorten. For an abrupt move from a dim position, use a cautious transition consistent with the plant and fixture instructions. If the nearest leaves change color quickly while distant leaves remain shaded, the problem may be distribution rather than total output. Repositioning the plants can be more useful than increasing the power and intensifying the same uneven pattern.
Commission the setup as an ongoing arrangement
After the first adjustment period, write a small reference card: fixture model and optic, mounting position, dimmer setting if present, timer schedule, and which plant group belongs beneath it. Note a maximum canopy height that will trigger a placement review while respecting the manufacturer's clearance requirements. This gives you a practical maintenance cue as the plants grow, without presenting one universal distance as correct forever.
Reassess when a plant moves, the collection expands, a window's seasonal light changes, or a shelf is rearranged. A replacement bulb with different optics is also a new setup, even if it uses the same socket. The goal is an even enough, species-appropriate light environment that you can water and inspect safely. A thoughtfully placed modest fixture can be more useful than an awkward powerful one; the deciding evidence is the actual layout and the plants' subsequent response.
Sources & further reading
We favor university extension guidance and original product documentation. Linked sources support the specific facts cited; they do not endorse Garden Gear Atlas.
- Soltech: Vita model specifications and optics
- Iowa State: supplemental-light setup
- University of Minnesota: indoor-plant lighting
- SANSI: BR30 36W grow-bulb specifications
- Barrina: MF10 two-foot yellow-light bars