Find the reference point before digging
The visible top of a nursery root ball can be misleading. Soil or container mix may have accumulated against the trunk, hiding the point where the main roots begin. If you measure the full height of that soil-covered ball and dig to match it, the tree can end up too deep even though the top of the ball appears level with the garden.
The University of Maryland's planting guide defines the root flare as the junction where roots emerge from the trunk and warns that nursery soil can already cover it. Gently move loose surface material away from the trunk until you can identify the upper substantial roots. Fine roots alone are not a reliable depth marker.
On a very young tree the flare may be subtle. Ask nursery staff to show you the relevant roots before purchase or planting. Do not confuse a swelling higher on a grafted trunk with the root flare. If the root system is tangled, severely circling, or difficult to interpret, resolve that problem while the plant is still easy to inspect.
Measure the corrected root ball
After finding the flare, measure from that point to the bottom of the root ball. This corrected dimension guides hole depth. Measure width separately, allowing room to position the tree and backfill around it. Keep exposed roots protected from drying while you prepare the hole, and arrange help before moving a heavy ball.
Purdue's tree-installation publication emphasizes finding the root flare before placing the tree and keeping it at the correct finished grade. The practical lesson is to measure the plant itself, not the height printed on a container or the depth of the hole left by a previous tree.
For example, suppose a container is 16 inches tall but the flare is hidden three inches below the surface. Digging a 16-inch hole merely because the pot is that tall creates an avoidable error. Measure again after exposing the flare; do not simply subtract three inches without checking the actual root-ball base and the intended soil level.
Keep a firm floor and a useful surrounding hole
In well-drained soil, leave a firm base beneath the root ball so the tree does not sink as disturbed soil settles. Make the hole wider than the root ball rather than unnecessarily deeper. Where digging has polished smooth sides in clay, roughen those sides without excavating a deep bowl beneath the tree.
Clemson Extension's planting guidance warns that placing a root ball on loosened soil can lead to settling. It also distinguishes ordinary well-drained sites from situations that require higher placement and broader site preparation. Simply raising a tree a little is not a dependable repair for a location that stays waterlogged.
If you dug too deeply, correct the supporting base before lowering the tree. Do not hide the mistake by adding extra soil against the trunk afterward. If the site needs a mound, drainage work, or a change in grade, settle that design first. The final position should protect the roots without leaving the sides of the root ball exposed to drying.
Check the working area as well as the hole. Keep loose soil where it will not bury neighboring plants or block a path. A tarp can separate excavated soil from lawn and make cleanup easier. Locate underground services before any digging or stake installation, including irrigation and other private lines that may need separate marking.
Set the tree, then verify from several directions
Lower the tree by its container or supported root ball, never by pulling on its trunk. Remove the container completely. Balled-and-burlapped stock requires particular care to remove constricting ties and appropriate wrapping or basket material while keeping the root ball intact. Arrange assistance when the size or weight prevents controlled handling.
The University of Minnesota's planting and transplanting guide distinguishes the handling requirements of different nursery stock. Follow the relevant method instead of applying container instructions to a heavy field-dug specimen. Recommendations differ on how much wrapping can be removed without destabilizing a ball; obtain site-specific help when that tradeoff is substantial.
Lay a straight board or tool handle across the undisturbed edges of the hole. Compare the flare with the surrounding finished soil surface. Step back and view the trunk from two directions before backfilling. On sloping ground, think about how the finished soil meets both sides of the ball rather than judging depth from the uphill edge alone.
If the height is wrong, adjust it now. Backfilling makes a positioning problem harder to correct and can encourage a compromise you will later regret. Keep the flare visible throughout the operation, so it remains the reference point after attention shifts to straightening and watering.
Backfill without creating a buried trunk
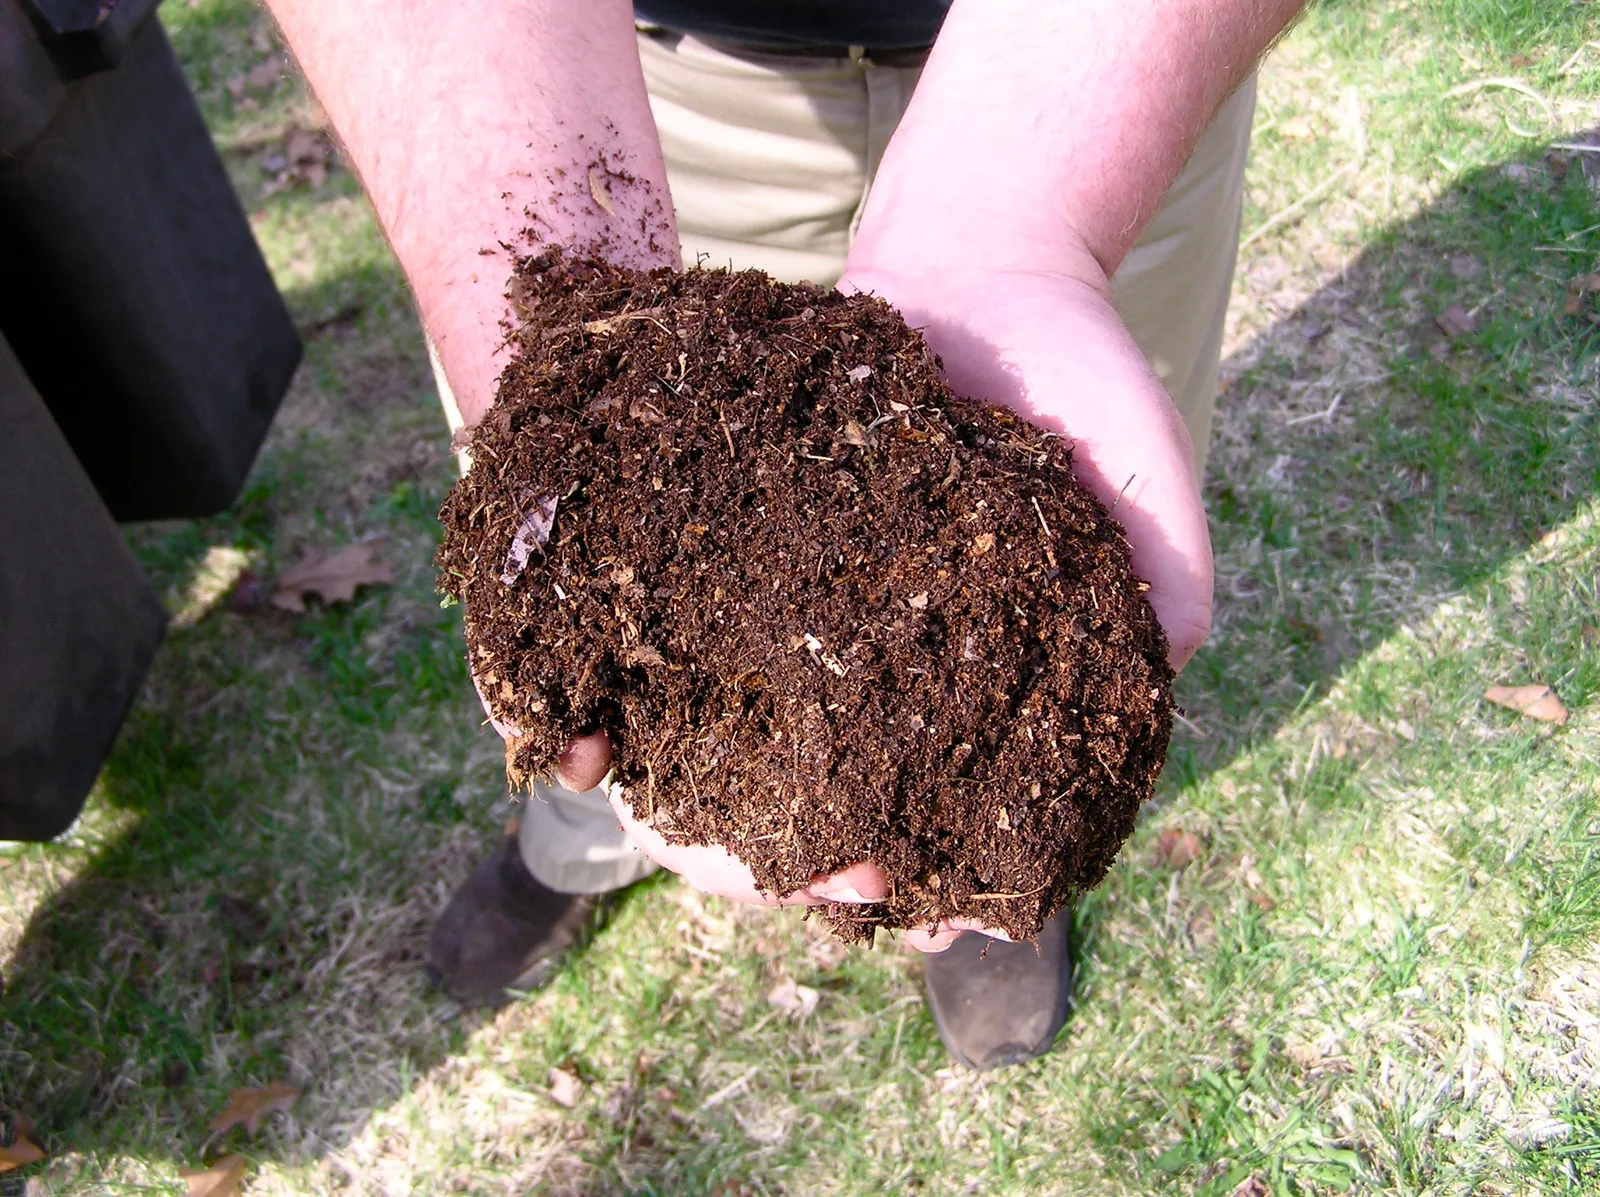
Return suitable excavated soil around the sides of the root ball, breaking large clods and settling soil gently. Avoid packing a new layer over the flare to make the surface look perfectly flat. In an ordinary suitable site, heavily enriching only the planting hole creates a different soil pocket rather than preparing the broader area into which roots must grow.
Work in stages and check the tree's position again before finishing. Water to settle soil and inspect for voids. If the ball has shifted or sunk, correct the cause promptly. Extra surface soil is not a substitute for stable placement, and a thick layer of mulch should not become a visual cover for uncertain planting depth.
The University of Maryland's account of trees planted too deeply explains why a buried root system can contribute to poor growth and decline. The problem is not merely that the trunk looks different. Depth changes the environment around the roots and can conceal defects that become more consequential as the tree grows.
After applying a suitable shallow mulch layer, keep the flare and trunk base clear. Photograph the completed planting from soil level. That simple record helps you compare the original grade with later changes caused by settling, lawn work, added mulch, or nearby landscaping.
Recheck the planting as it establishes
Inspect after the first thorough watering and again after substantial rain. Look for sinking, leaning, soil washout, or accumulation against the trunk. Separate those observations from normal trunk movement in wind. A planting can be adequately watered and still be too deep, so water alone does not solve every early setback.
If you discover excessive depth on a recently planted, manageable tree, ask whether lifting and resetting it is the best correction. For an established tree, do not excavate aggressively around large roots or cut suspected girdling roots on a guess. An arborist can assess how the tree was planted, what roots are present, and whether correction can be made without creating additional damage.
Keep future maintenance aligned with the original reference point. Tell anyone adding mulch or soil that the root flare must remain visible. Before building an edging ring or raising a surrounding bed, consider the root system already occupying that ground. Correct depth is a planting decision that later landscaping must continue to respect.
Sources & further reading
We favor university extension guidance and original product documentation. Linked sources support the specific facts cited; they do not endorse Garden Gear Atlas.
- University of Maryland Extension: planting a tree or shrub
- University of Maryland Extension: trees planted too deeply
- Purdue Extension: Tree Installation, Process and Practices
- Clemson Cooperative Extension: planting trees correctly
- University of Minnesota Extension: planting and transplanting trees and shrubs