Confirm moss phlox before choosing the planting place
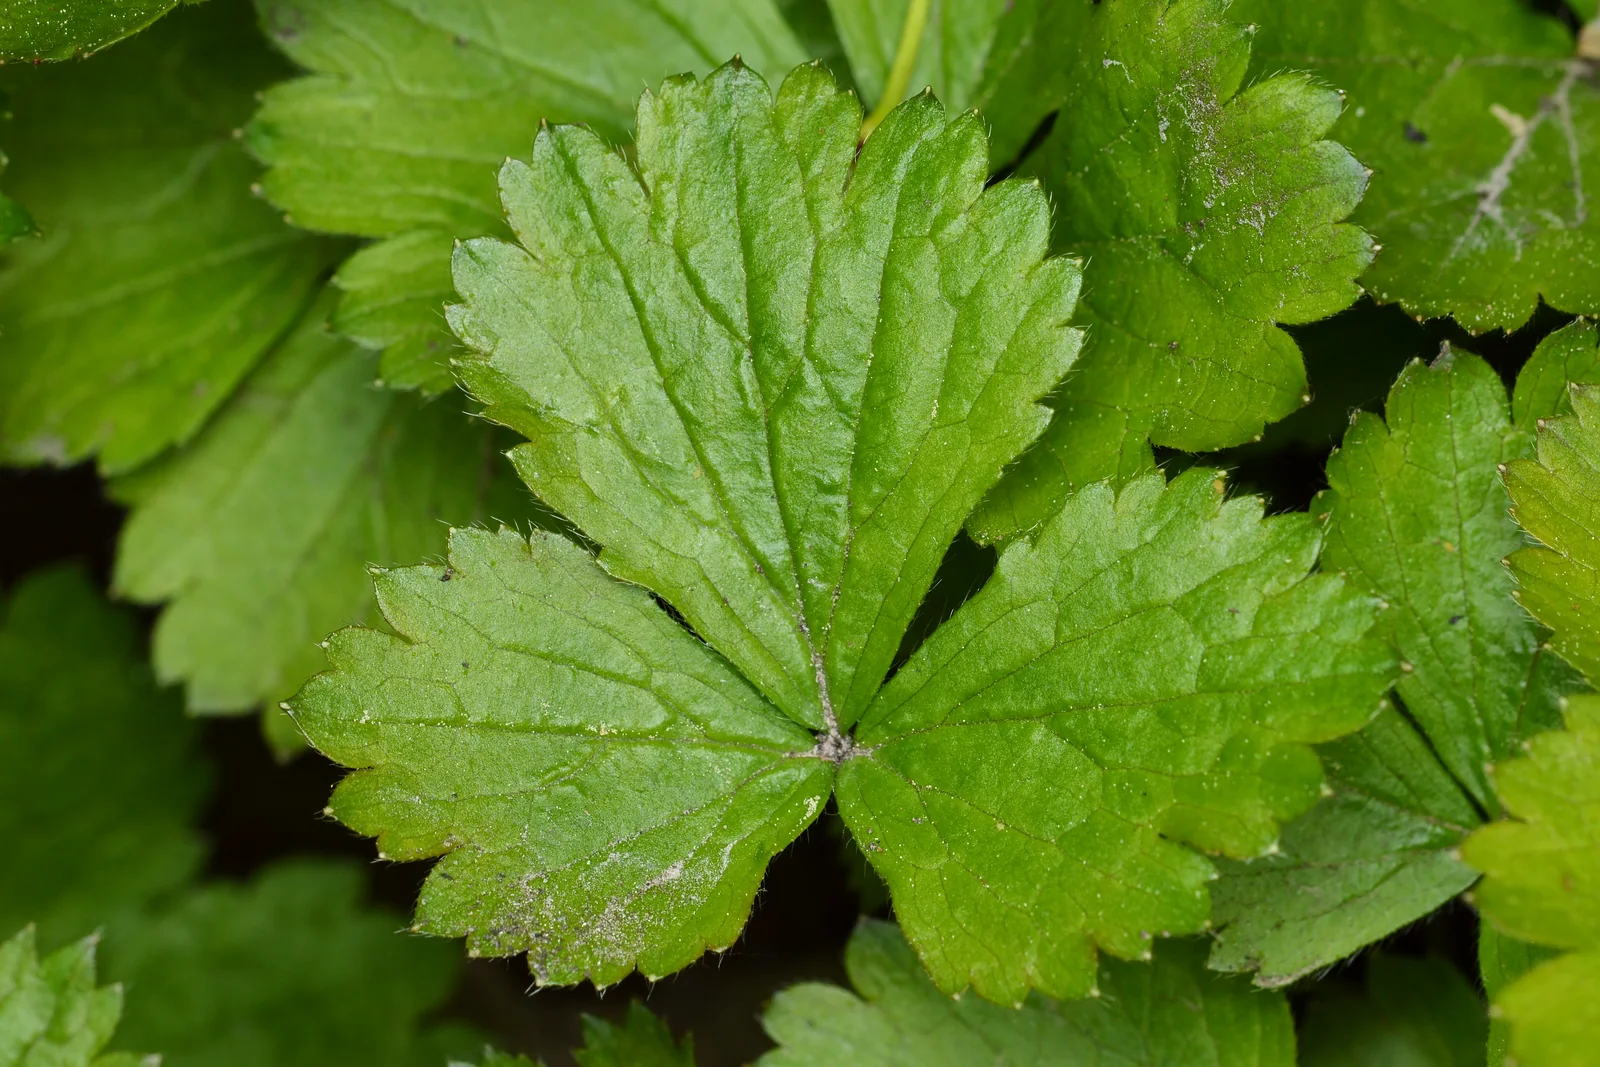
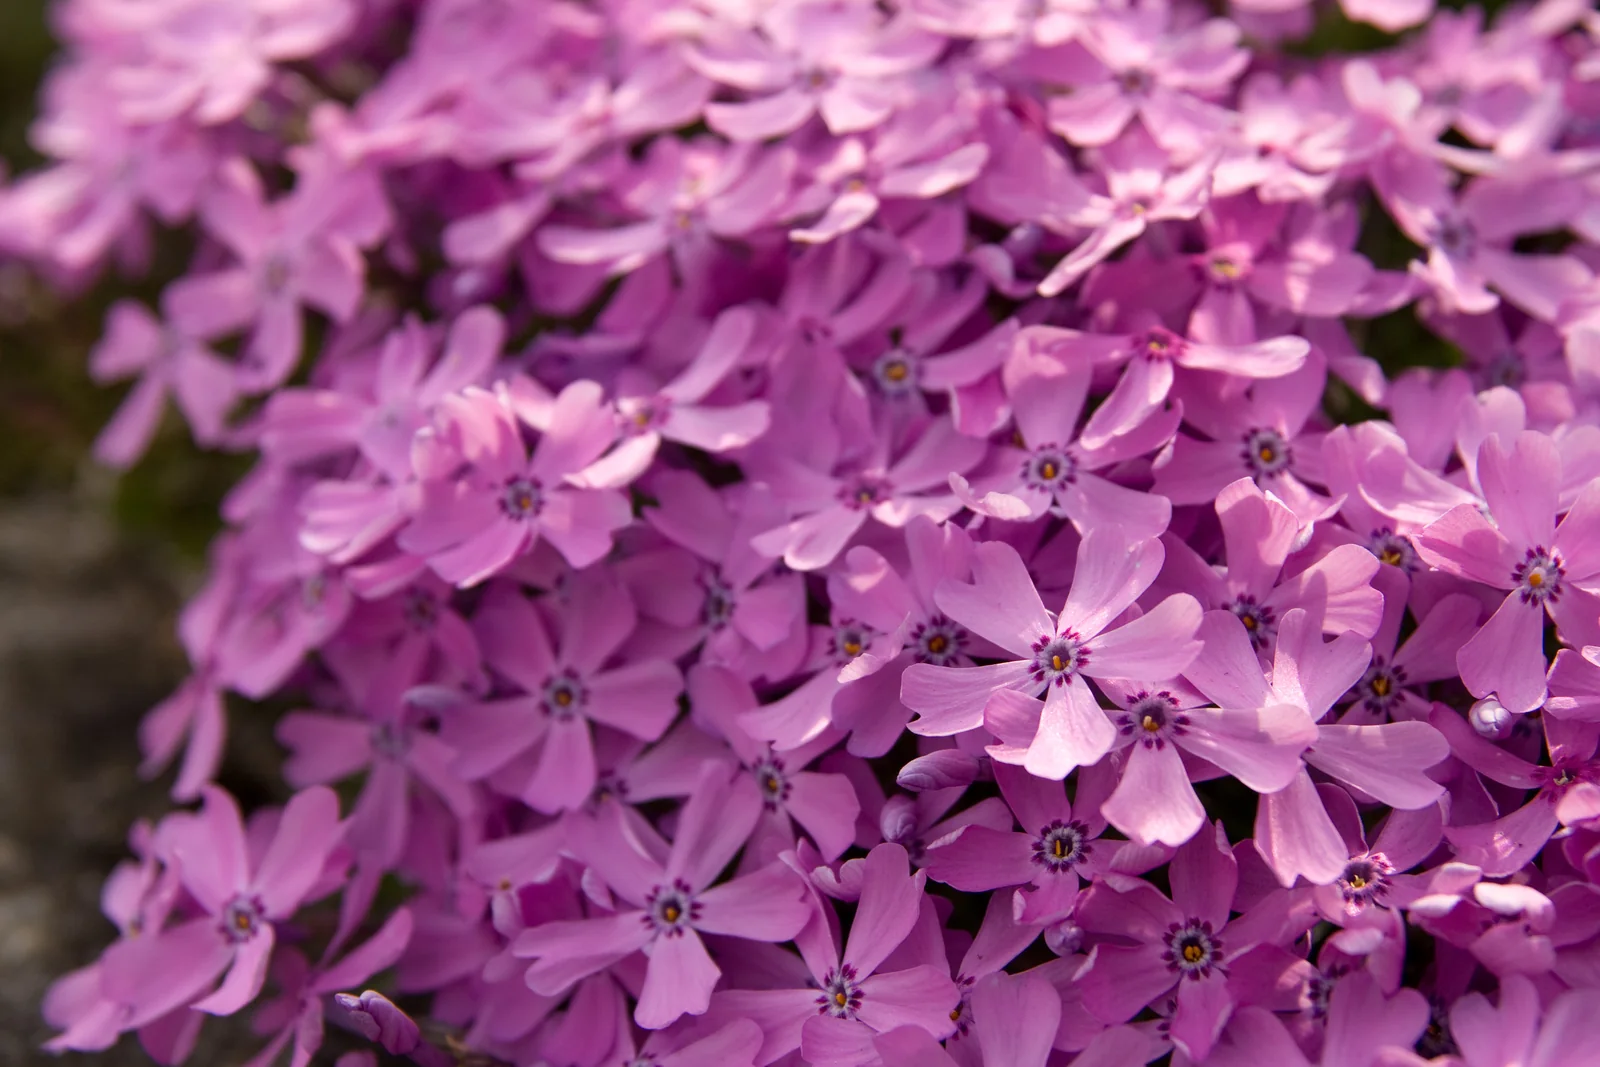
This profile concerns Phlox subulata, also called moss phlox. Mt. Cuba Center distinguishes it from Phlox stolonifera, another plant sold as creeping phlox, with softer rounded leaves and taller flower stems. Keep the species on your shopping list rather than relying on a spring flower photograph.
Ask the nursery for the exact cultivar and keep its label. A picture of pink flowers cannot tell you whether a plant is the selection you wanted, how wide that selection is expected to grow or whether it was propagated from a named clone. If you want one continuous color block, buy consistently labeled stock and reserve a place on your plan for each batch.
For a closer identification check, Native Plant Trust’s botanical profile documents opposite, narrow pointed leaves and notched flower lobes. Use several characters together. A plant that differs from the expected foliage deserves an identification check before being divided or added to another bed.
Put drainage and summer exposure ahead of flower color
Start with a location you can inspect after rain. A bank may drain quickly overall yet have a compacted pocket where water collects behind paving. Compare that pocket with the crest before laying out one uniform phlox planting. The sunny-slope guide explains how to map these differences and retain useful cover while preparing a new patch.
For a border, place a trial group where you can see its summer condition from a path. Morning or midday sun may be easier to evaluate than an inaccessible bank receiving reflected afternoon heat from a driveway. Record the hours of direct light with neighboring trees in leaf. Avoid interpreting a full-sun label as a reason to ignore local heat and humidity.
Do not attempt to fix a fundamentally wet location by enriching each small planting hole. Choose a different position or a plant suited to that moisture regime. Likewise, a sparse dry bed does not automatically require fertilizer. Obtain a soil test if nutrient or pH correction is in question, and make any amendment decision from that information.
Plant a patch that can expand without crossing the path
Use the nursery’s recommended spacing for your selection and set plants out in their pots before digging. Estimate the count with the plant-spacing tool, then measure actual positions around rocks and curves. Keep the outer plants sufficiently inside the intended edge that expansion can be inspected and trimmed without covering the walking surface.
For example, sketch a small 4-by-6-foot border section and mark the available centers using the supplier’s spacing. Exclude the corner where people cut across to reach a gate. A slightly smaller planting with an obvious route is more likely to remain intact than a full rectangle repeatedly stepped on. Plan phlox as ornamental cover; do not design it as a daily walking surface.
Moisten dry root balls before planting, set them at the proper nursery level and water them in gently. A hand trowel is useful for individual holes. Keep waiting pots together where you can check them, instead of placing them across a sunny slope hours before they can be planted.
Care for the foliage after the spring display
Wisconsin Extension lists moss phlox as a low groundcover with a spring flower carpet. Treat that as one seasonal event in the bed’s design. Arrange other suitable plants or an attractive bed edge to carry visual interest after flowering, rather than judging the phlox against its peak bloom every week.
NC State Extension recommends cutting stems back after flowering to encourage density and describes thinning centers in older mats. Inspect the living growth before trimming. If the plant is drought-stressed or has a suspect dead patch, diagnose that area instead of giving the whole planting an automatic severe haircut.
Take a photograph before and after routine tidying, and compare growth several weeks later. Remove obvious dead debris carefully while preserving rooted healthy sections. Keep soil and mulch from accumulating over the mat. If stems extend across a path, address that edge while small rather than repeatedly walking over it until it breaks.
Investigate brown patches by pattern
First ask where the damage occurs. A dry outer lip, a low wet pocket, a walked-on corner and the center of an old mat suggest different lines of investigation. Feel the soil near a failing plant and compare it with a healthy neighbor before adding water. Check whether an irrigation outlet is functioning and whether runoff bypasses the original root ball.
NC State notes spider mites as a possible problem in hot, dry weather and rabbit feeding on foliage. Its plant profile also describes older stems becoming woody. These possibilities justify close inspection; they do not establish a diagnosis from a distant photograph of browning.
Look beneath foliage for fine webbing or stippling, and compare cleanly eaten shoots with dead dry tissue. Keep notes and clear close-up photographs for an extension diagnostic service if the cause remains uncertain. Avoid treating every brown patch with fertilizer or a pesticide. Replacing a plant without identifying a recurring site problem often recreates the same gap.
Renew an old mat from healthy growth
NC State lists division and cuttings as propagation methods and describes stems rooting at nodes. Its species account helps explain why healthy outer growth may offer renewal material when an older center becomes sparse. Confirm that a section has roots before separating it.
Prepare a small holding area or the final planting position first. Keep the chosen piece supported and moist while moving it, and retain the cultivar label. Do not divide a declining mat simply to multiply the problem across the garden. If the center has failed repeatedly in wet soil, repair the site decision before replanting it. A successful rooted edge and an attractive spring flower display are useful observations, but neither excludes disease elsewhere in the mat.
Use it as a manageable colony with a regional context
Phlox is a strong design choice when you want a low flowering edge you can reach from outside the bed. A container can offer a small display, but it creates a separate watering and winter-root environment; this ground-oriented profile should not be read as a promise that a small exposed pot will perform like an established bank. If using a pot, plan drainage and winter placement explicitly.
For a native planting, verify the species’ status in your region rather than assuming a North American origin applies everywhere. Native Plant Trust’s distribution treatment includes introduced occurrences. That is a useful reminder to check local botanical guidance before assigning habitat claims to a purchased cultivar or a long-established garden escape.
Evaluate a trial through spring bloom, summer stress and winter appearance before ordering a large expansion. Choose new stock by identity and site fit, retain records, and revisit the regional-spread screen before sharing or planting it beside natural habitat.
Sources and scope
Research-based guidance informed by institutional references. Cultivar, region and growing conditions can change the advice. Product inclusion does not imply hands-on testing of every model.